Home Renovation Before and After: A Complete Journey From Plan to Finish
Schedule your renovation with confidence. Explore the complete home renovation before and after journey, from budgeting and design to demolition, finishes,...
|
August 3, 2026

In this article:
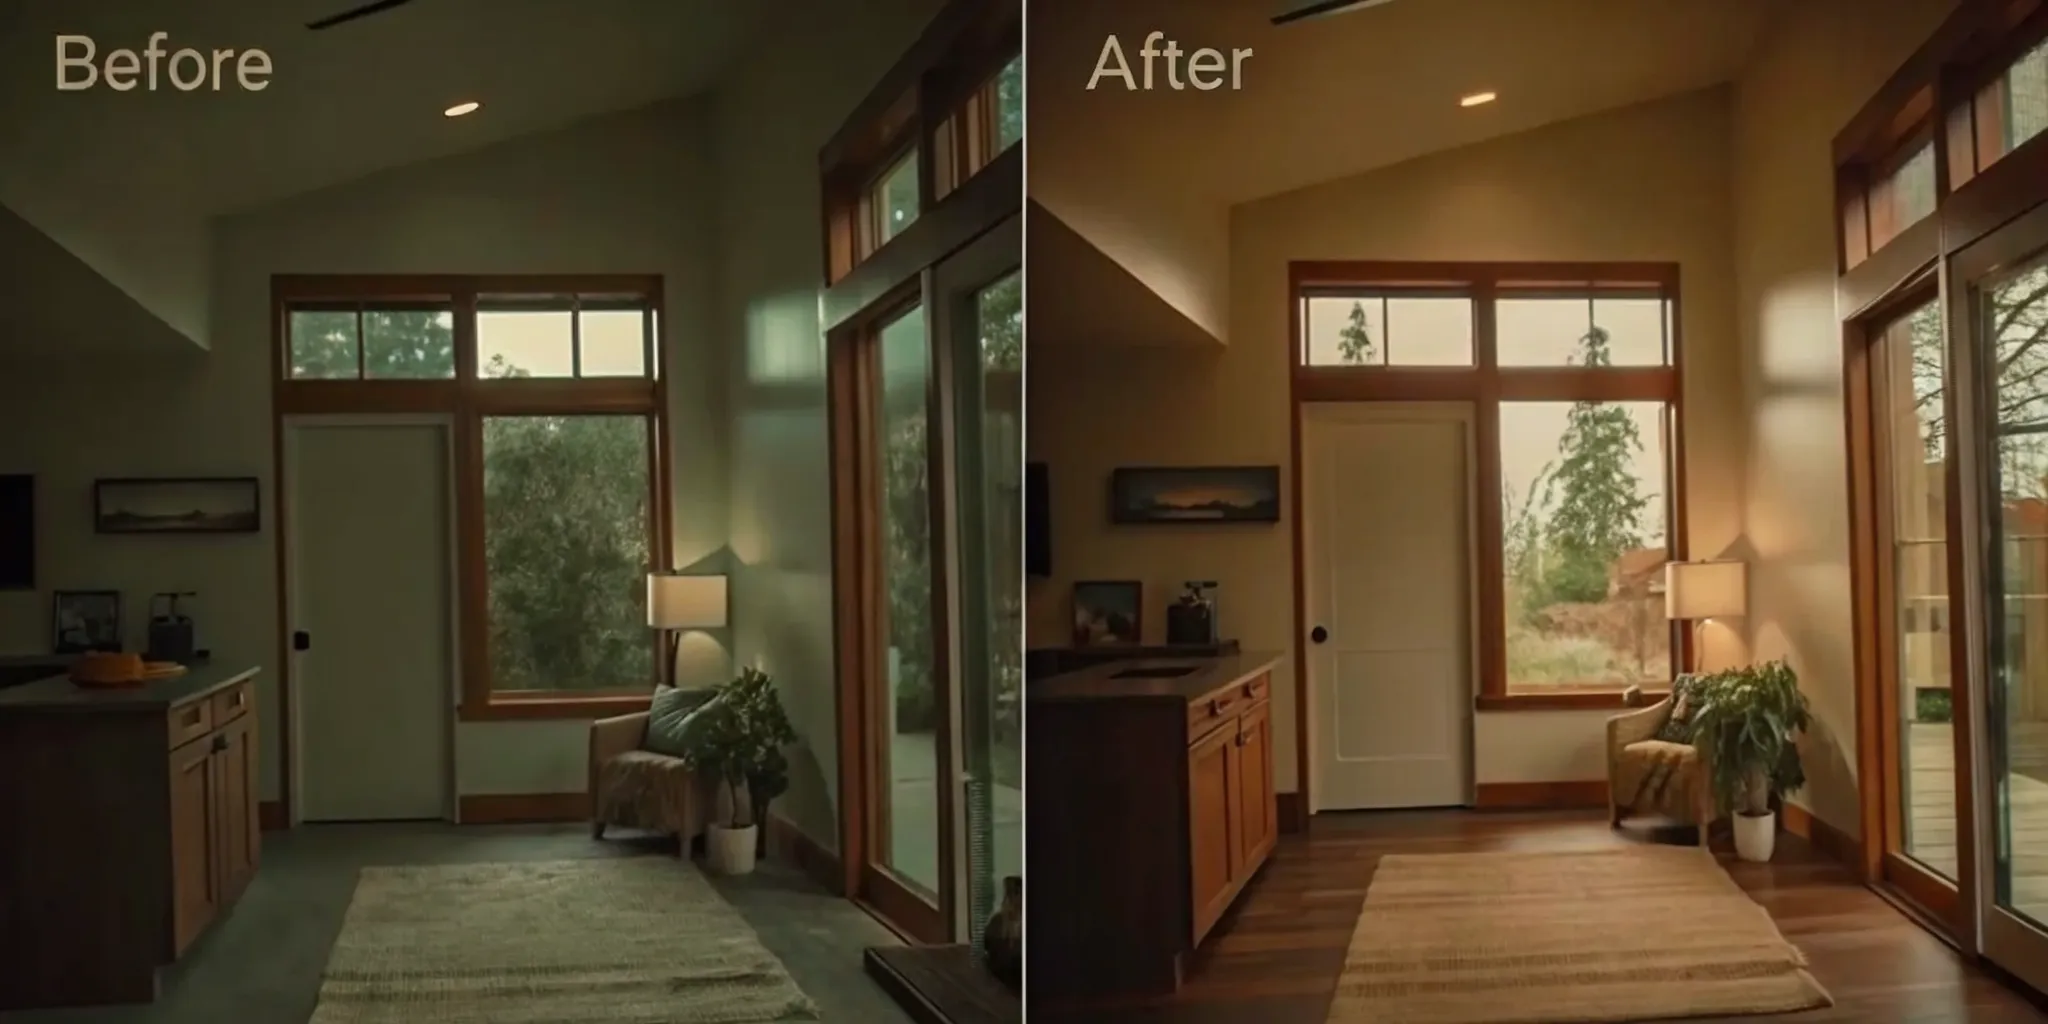
A successful renovation is easier to understand when you can see the path from the original space to the finished result. The dramatic before-and-after photos may be what first inspires a project, but the transformation depends on quieter decisions made long before demolition: defining the scope. Setting a realistic budget, developing the design, securing permits, and choosing the right contractor. A full-scale renovation can take four to more than 12 months, depending on its size and complexity, so a clear roadmap helps you plan with fewer surprises.
Home renovation before and after planning means connecting the visible transformation to every decision behind it. From the first assessment and budget through construction, inspections, and the final walkthrough. With organized guidance, homeowners can make informed choices before changes become expensive to revise.
The journey begins by turning your goals for a kitchen, bathroom, addition, ADU, or whole-home remodel into a defined project plan. That first assessment establishes what is possible, what it may cost, and how the renovation can move forward with confidence.
How Your Home Renovation Before and After Begins With Assessment and Budgeting
Before finishes, demolition, or contractor bids, establish what the renovation must accomplish. A reliable budget is not a guess based on a few inspiration photos. It is the financial expression of a clearly defined scope, measured conditions, priorities, and realistic allowances.
Define the scope before you price the work
Start by documenting the home's current condition and the outcome you want. Measure rooms, ceiling heights, doors, windows, and the locations of plumbing, electrical, and HVAC systems. Note structural concerns and any constraints that could affect design or permitting. Then separate must-haves from nice-to-haves. A kitchen may require better storage and a new layout, while a specialty appliance or upgraded finish can remain optional if the budget tightens.
Make these decisions on paper before construction begins. A change made during planning is usually a revision. The same change after drywall may require demolition, rework, and new materials. A comprehensive scope document also reduces mid-project surprises that can inflate renovation costs by 20 percent or more. For a broader framework, see this guide to planning a whole house remodel.
Build a budget with room for reality
Use the scope to create a working budget, not just a headline construction number. Include design, permitting, materials, labor, temporary living arrangements, and any required upgrades to the home's systems. Set aside a contingency of 10 to 20 percent for conditions that cannot be confirmed until walls or floors are opened. Older homes and projects involving structural changes generally deserve more protection.
Early benchmarks can help establish expectations. Mid-range whole-home remodels commonly run about $200 to $400 per square foot. While a kitchen remodel may fall around $14,600 to $40,000 depending on size, layout, materials, and regional labor costs. These ranges are starting points, not quotes. The final figure depends on the decisions captured in your scope and the bids those decisions produce.
Realm Living advisors help homeowners shape the budget, compare bids, and identify differences in allowances or exclusions. Their analysis draws on the largest renovation bid database in the United States, adding useful context to contractor pricing instead of asking homeowners to compare numbers in isolation.
Phase 2: Design, Permits, and Pre-Construction - The Blueprint Stage
Once the renovation scope is clear, the project moves from ideas to documents that a contractor can actually build. Your wish list becomes a coordinated plan for layout, structure, finishes, budget, and sequence. This is also where decisions that look small on paper can protect the quality of the final home renovation before and after result.
Turn the wish list into buildable plans
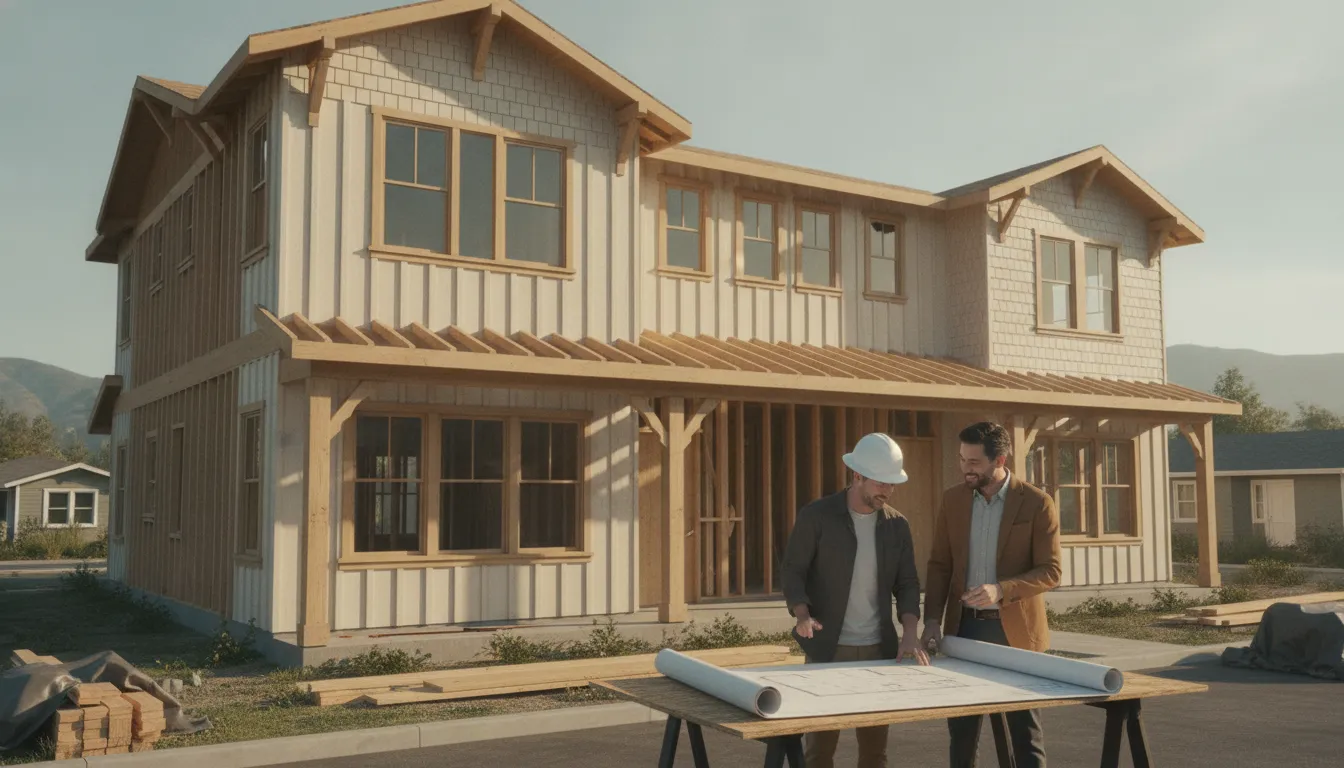
Architectural design translates goals such as a larger kitchen, a reconfigured bathroom, an ADU, or an addition into measured floor plans and construction details. Three-dimensional renderings can help you evaluate proportion, circulation, light, and material combinations before work begins. Realm Living offers custom project planning with renderings, floor plans, and budget estimates, then connects homeowners with vetted contractors who can price the defined work.
Permitting follows the design, not the other way around. Depending on the scope and jurisdiction, structural, electrical, and plumbing work may require separate permits or reviews. For a major remodel, allow roughly 4 to 8 weeks for permitting. That time can overlap with material research and contractor coordination, but it should not be treated as invisible schedule space.
Freeze the design before demolition
The most important pre-construction rule is to freeze the design before demolition begins. Finalize the layout, major materials, fixtures, hardware, and paint direction before a hammer swings. A change made on paper costs a revision; the same change after drywall may require demolition. The planning discipline described by Remodel Calculators also recommends locking the scope before pricing and completing measurements and design before construction. See the planning guidance.
| Phase | Typical timing | Key decisions or work | How Realm Helps |
|---|---|---|---|
| Design phase | 2-6 weeks | Confirm layout, materials, floor plans, and visual direction. | Custom project planning, renderings, floor plans, and budget estimates. |
| Permitting | 4-8 weeks | Coordinate structural, electrical, and plumbing permits and reviews. | Advisor guidance helps align the documented scope with the construction plan. |
| Material selection | 1-3 months | Choose products early and account for availability and lead times. | Planning support keeps selections connected to the budget and contractor scope. |
These activities are integrated rather than strictly linear. A delayed cabinet, revised structural detail, or unresolved fixture choice can affect the construction sequence. Resolving those dependencies before demolition gives the contractor a clearer plan and gives you a more reliable path from the original rooms to the finished transformation.
Phase 3: Demolition and Structural Work - The Dramatic Before
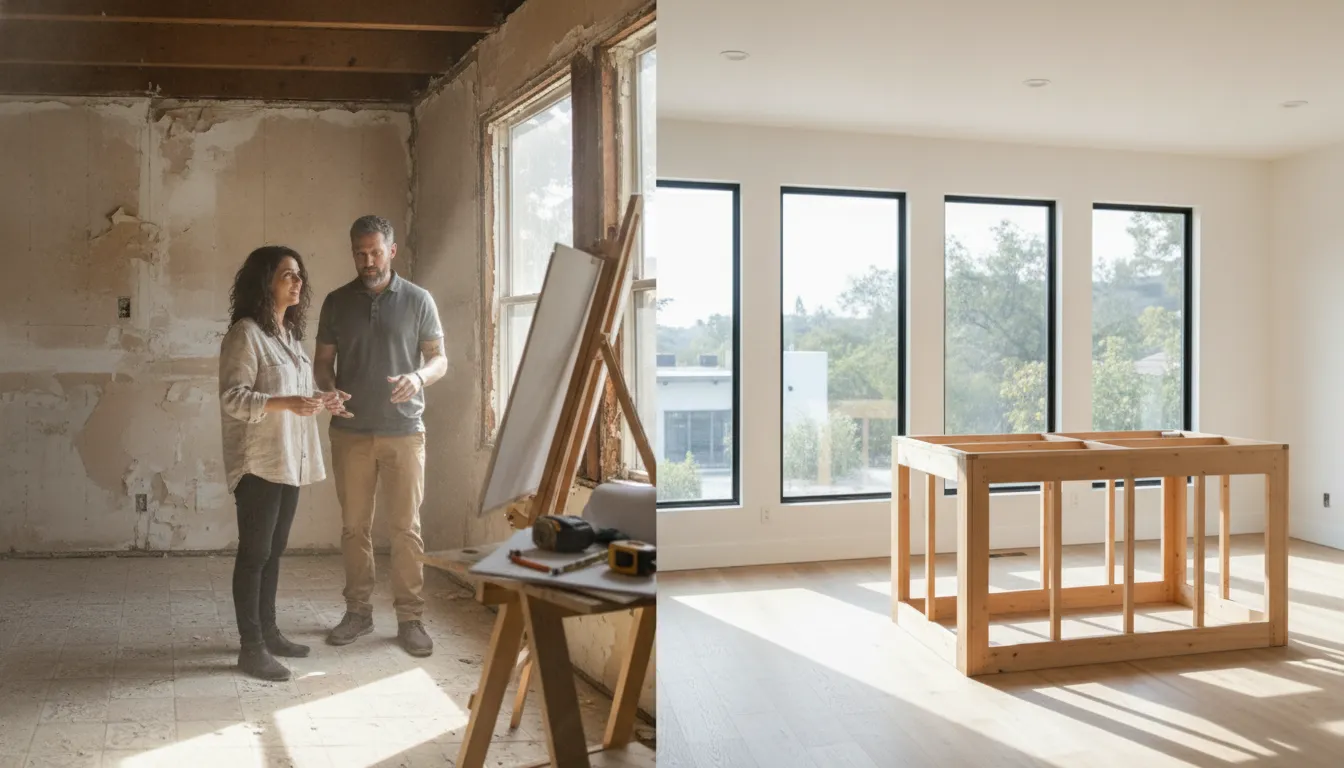
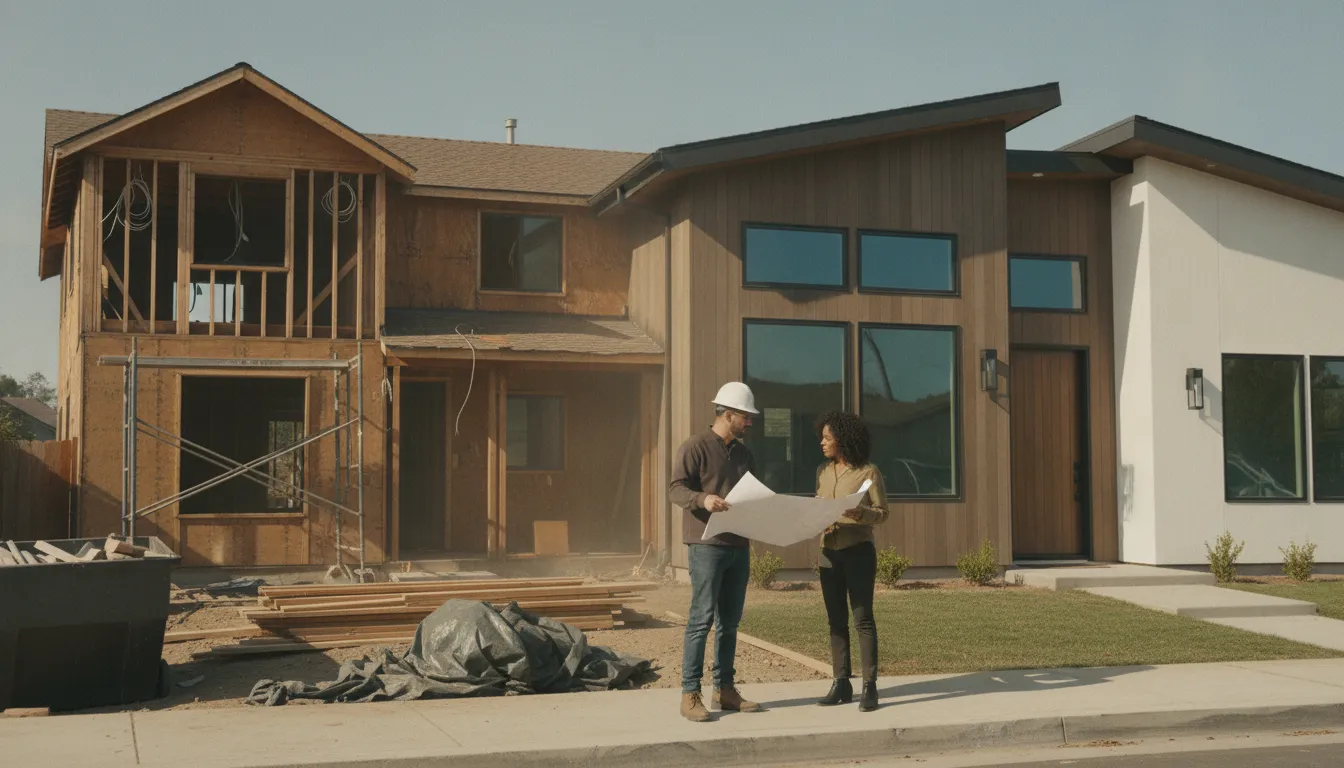
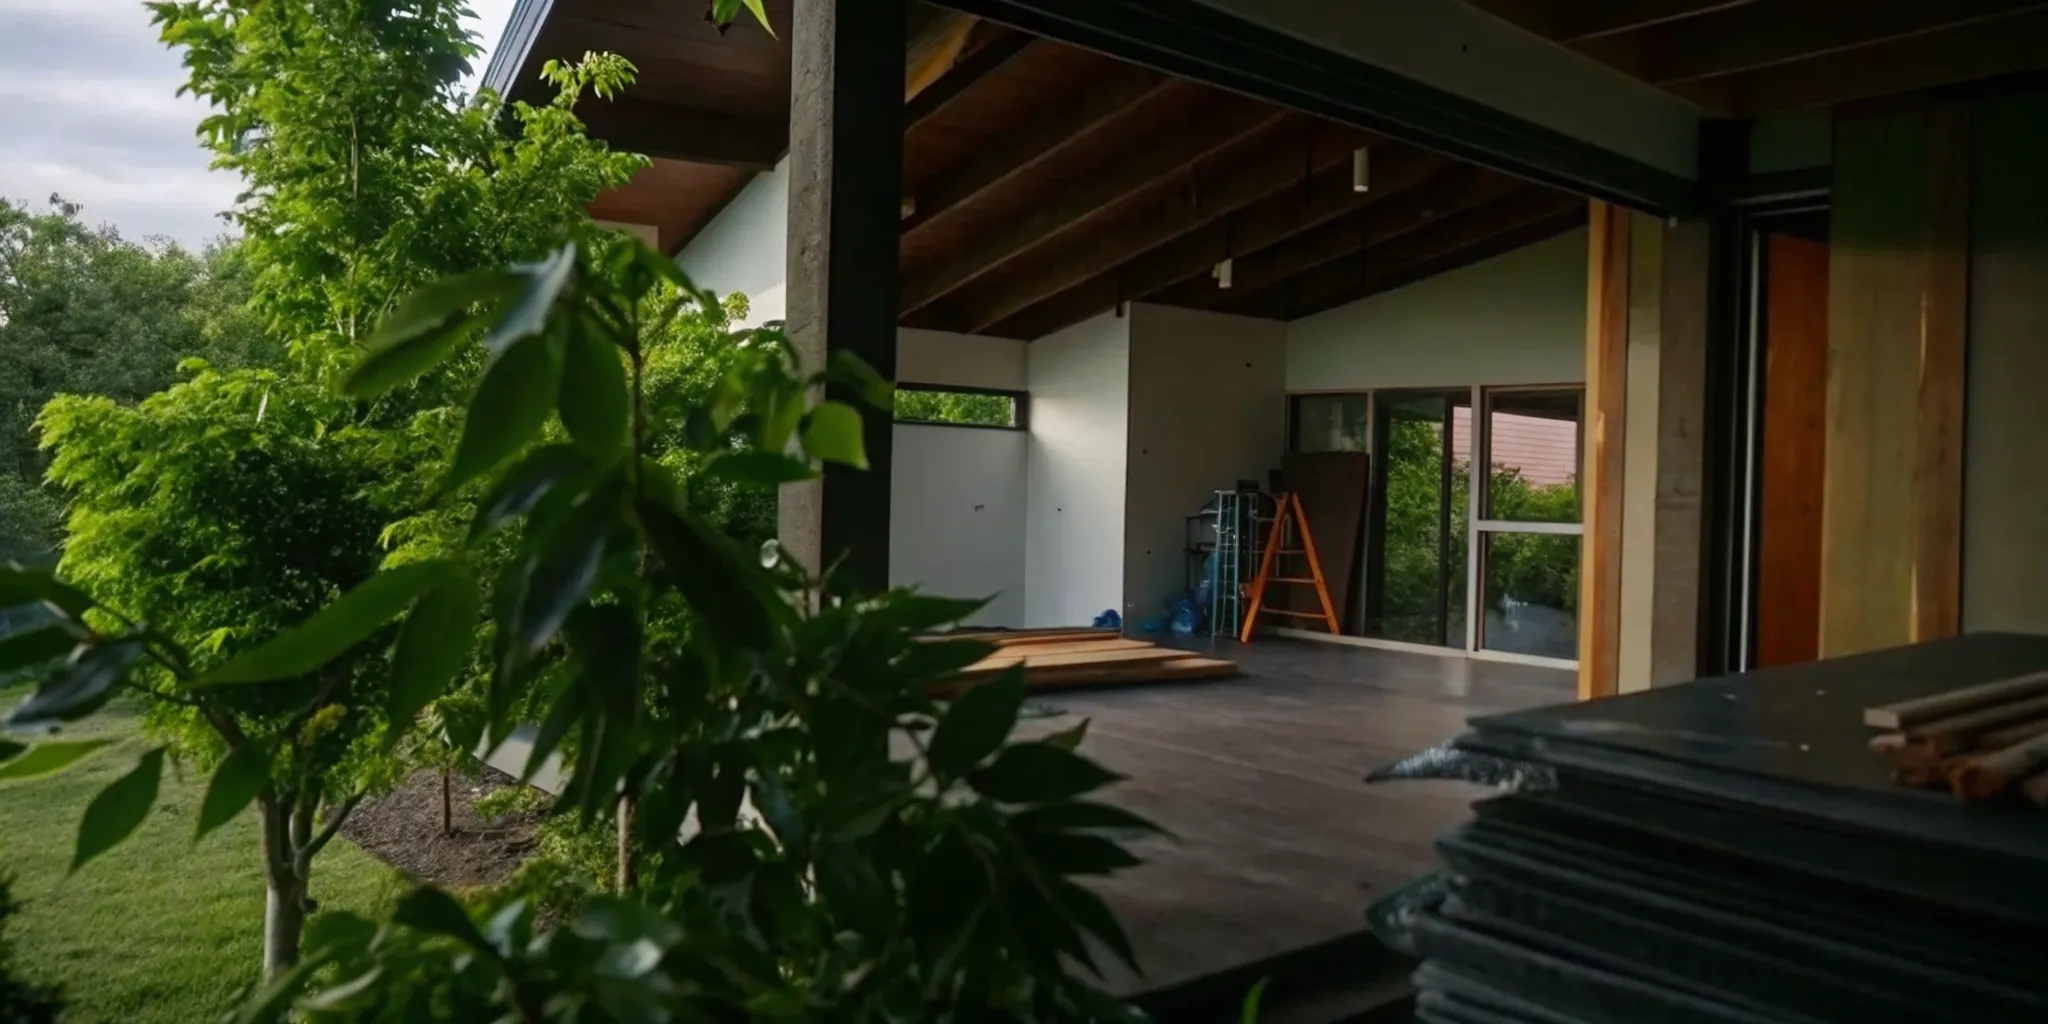
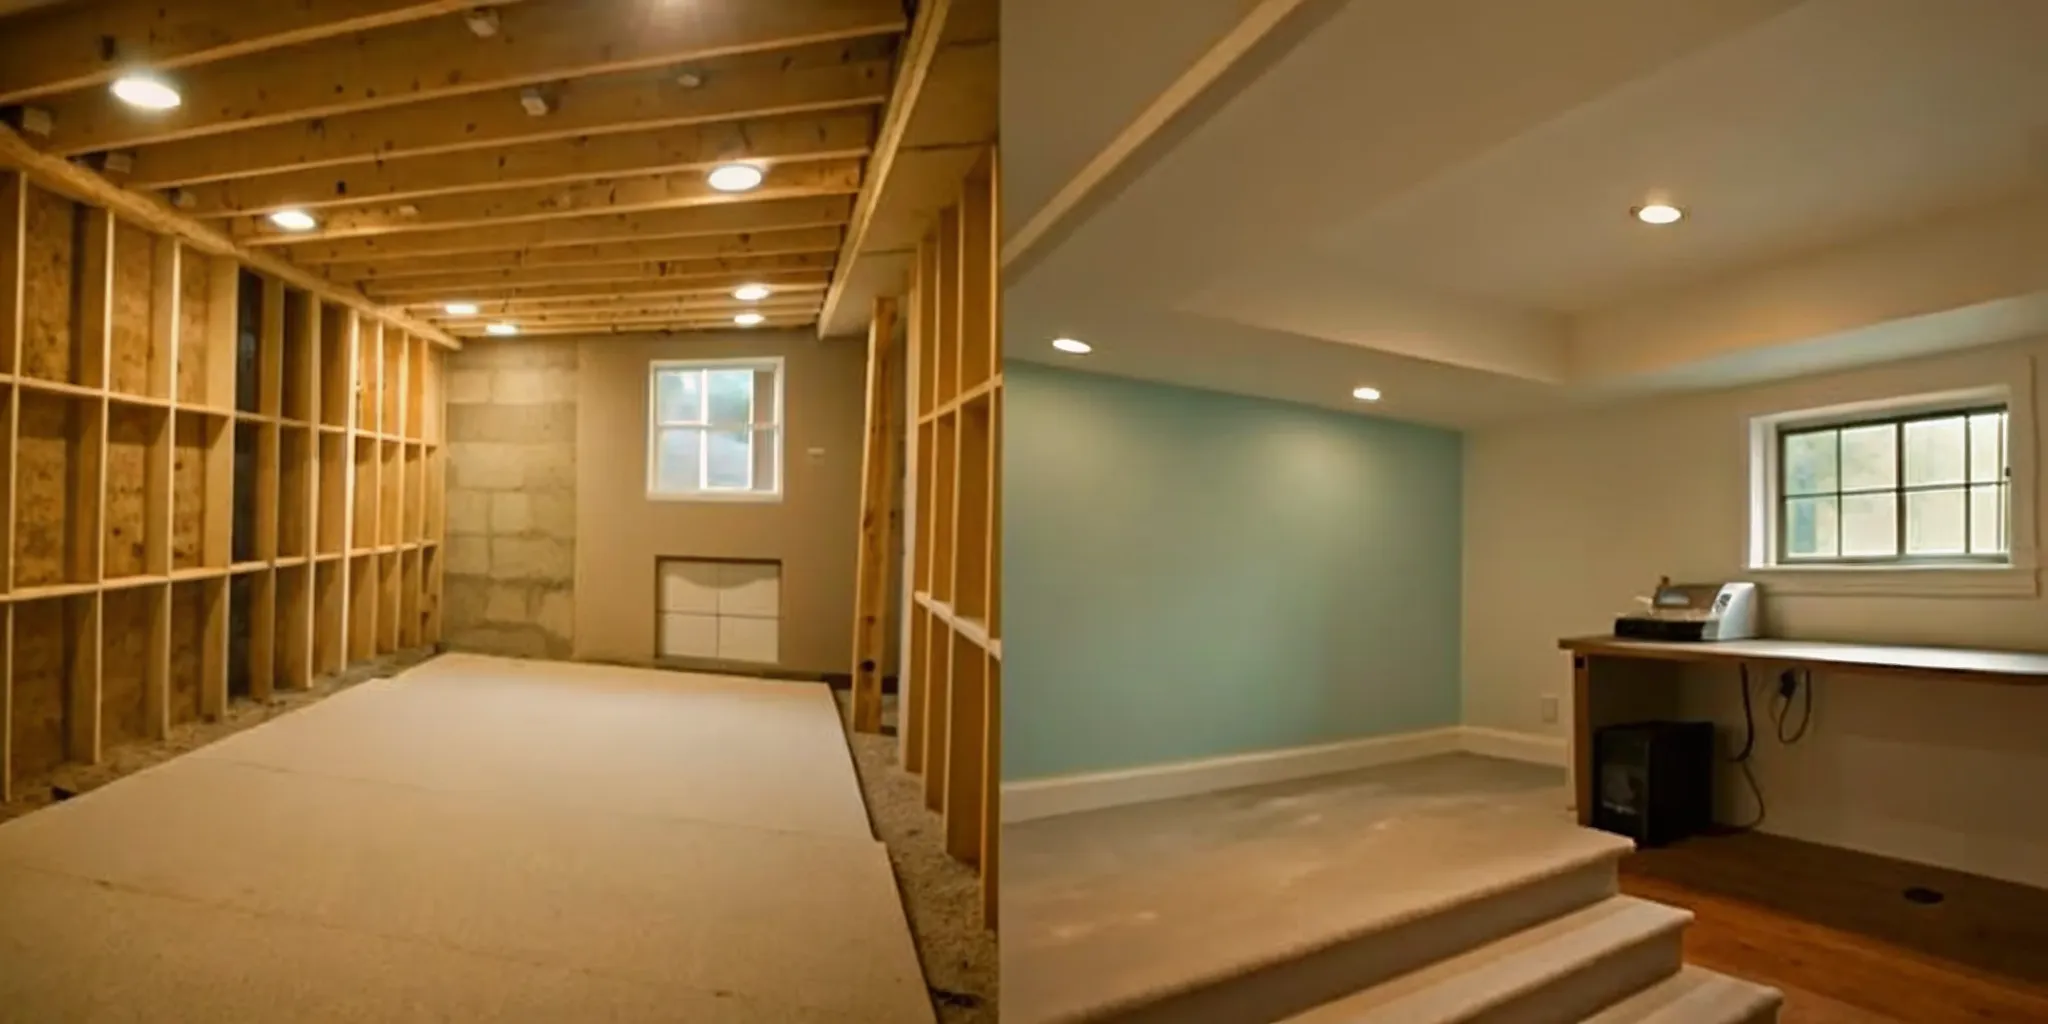
Demolition is often the moment when a renovation stops looking like a plan and starts looking like a construction site. For roughly the first week, crews may remove cabinets, flooring, drywall, fixtures, or other finishes that no longer serve the new design. The visual result can be unsettling: rooms may look stripped, dusty, and less livable before the improvements become visible. That temporary discomfort is a normal part of creating the conditions for a safer, better-functioning home.
Preparing the site before demolition begins
Good preparation protects the parts of the home that are staying in place. The team should establish work zones, cover floors and paths used for access, seal off areas where practical, and install dust containment before materials are removed. A dumpster or other debris plan should also be arranged in advance so waste does not accumulate around the property or slow the crew down.
These controls are more than cosmetic. The CDC's National Institute for Occupational Safety and Health notes that construction, renovation, demolition, and repair can release airborne dust, gases, organic vapors, and other contaminants. Appropriate containment and site controls help limit exposure for workers and occupants while keeping the project organized.
Structural work reveals what the plans could not
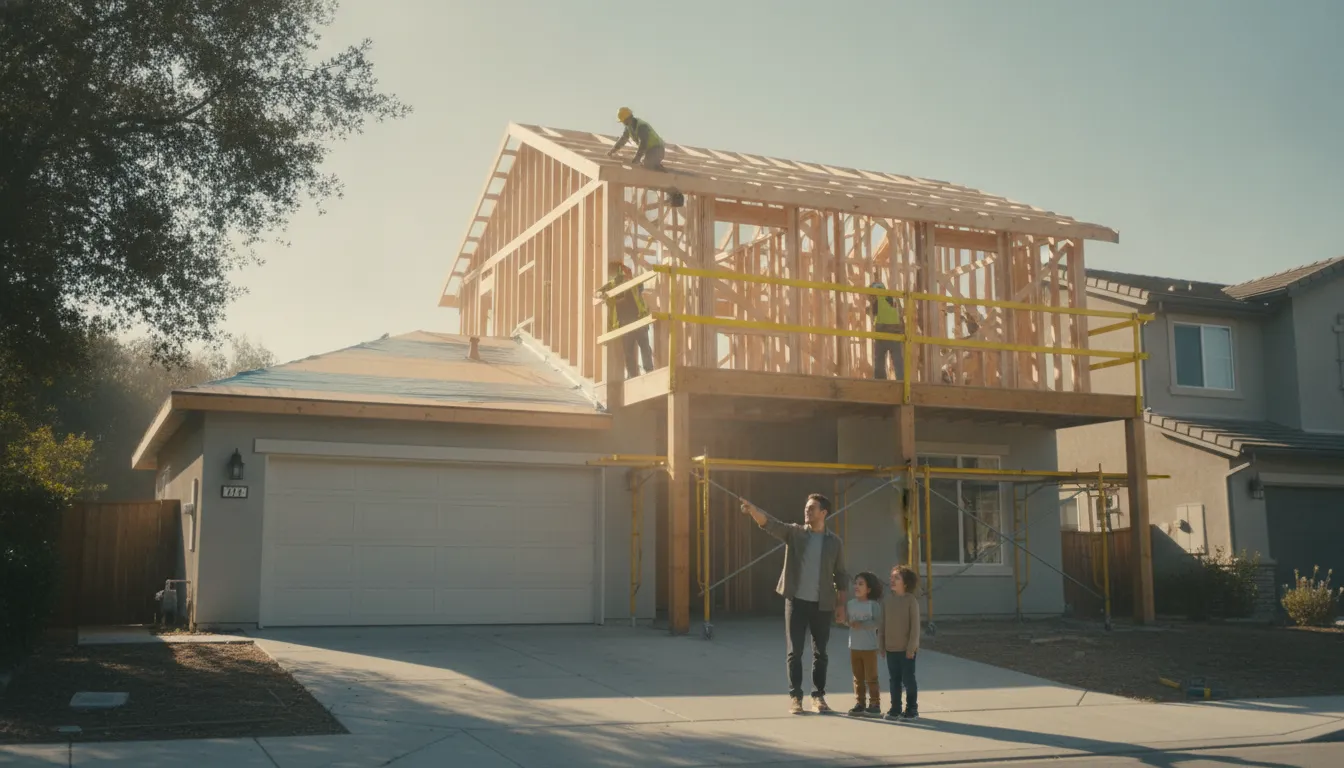
Once finishes are removed, crews can inspect framing, floors, foundations, and other concealed conditions. Structural work may take one to eight weeks, depending on the complexity of the project and what the home reveals. Reinforcing framing, repairing a damaged sill, adjusting load-bearing walls. Or preparing an opening for an addition can add time, but these tasks protect the performance of everything that follows.
Older homes may uncover rotten sills, outdated wiring, or other conditions that were not visible during the initial walkthrough. Pre-1978 homes also require particular care because they are likely to contain lead-based paint. Renovation activity can create lead dust, and the CDC warns that children may be exposed by breathing or ingesting that dust or by eating paint chips. Review the CDC's guidance on lead paint and use the appropriate testing, containment, and qualified abatement practices before disturbing suspect surfaces.
This is where an advisor's support is especially valuable. Realm Living can help homeowners understand why a newly discovered condition matters. Evaluate the effect on the plan, and keep decisions moving without treating every surprise as a crisis. The house may look worse before it gets better, but demolition and structural work create the sound foundation for the transformation ahead.
Phase 4: Rough-Ins, Drywall, and Finishes - The Transformation
This is the phase when a renovation shifts from exposed framing and construction dust toward the home you planned. The sequence matters as much as the craftsmanship. Each trade needs room to complete its work before the next layer closes the walls. So changes become increasingly difficult and expensive once drywall, flooring, and cabinetry are in place.
- Step 1: Complete the MEP rough-in. Mechanical, electrical, and plumbing systems are routed through the walls, ceilings, and floors before anything is covered. This stage commonly takes about one to three weeks, depending on the home's size and the amount of work being added. The build order is critical: HVAC first, plumbing next, and electrical after that. In practical terms, route a wire around a pipe, not a pipe around a wire. Careful coordination now prevents conflicts, rework, and unnecessary delays later. Inspections may also be required before the walls are closed.
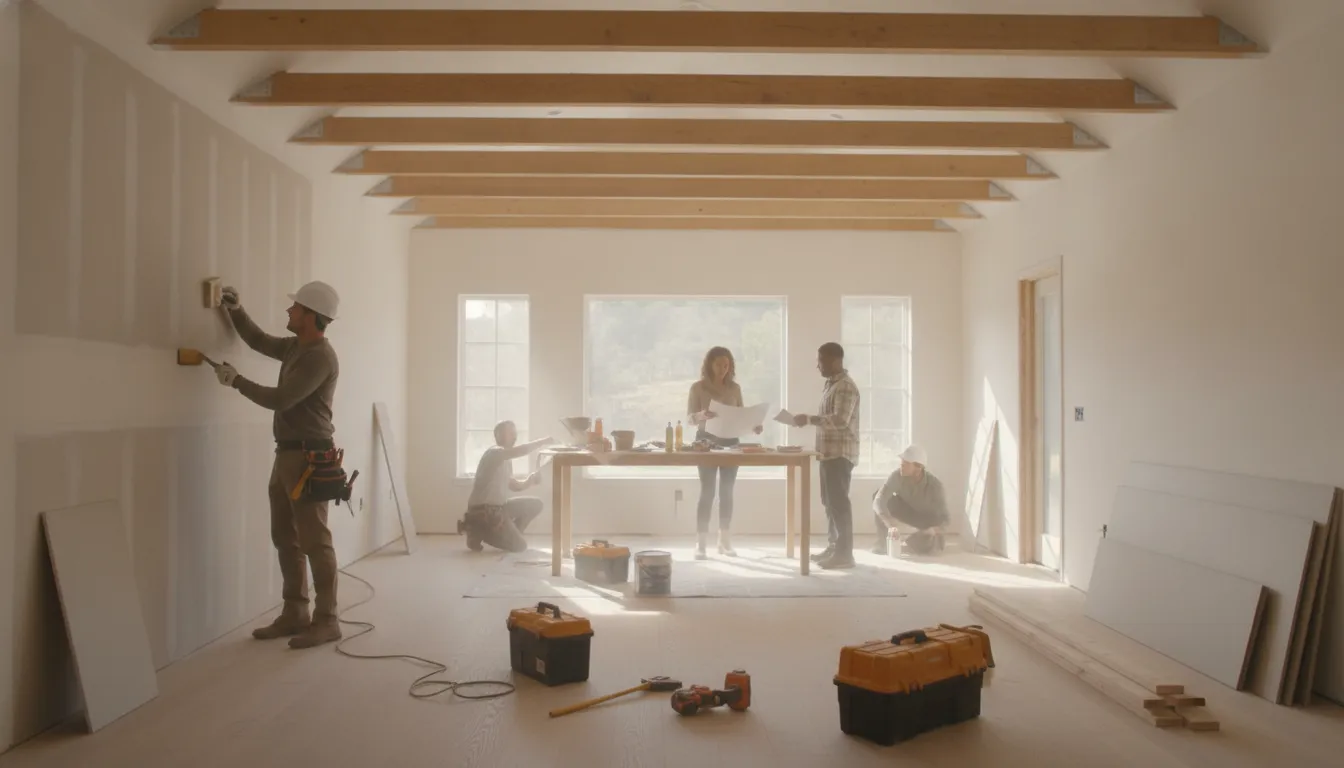
- Step 2: Install insulation and drywall. Once rough-ins pass the necessary checks, insulation is installed and drywall gives the rooms their recognizable shape. Allow roughly one to four weeks for this work, including hanging, taping, mudding, sanding, and preparation for paint. This is also a good point to confirm that outlets, switches, vents, and plumbing connections are located where the design requires them. A change after drywall is installed can require demolition rather than a simple revision, as the planning guidance from Remodel Calculators explains.
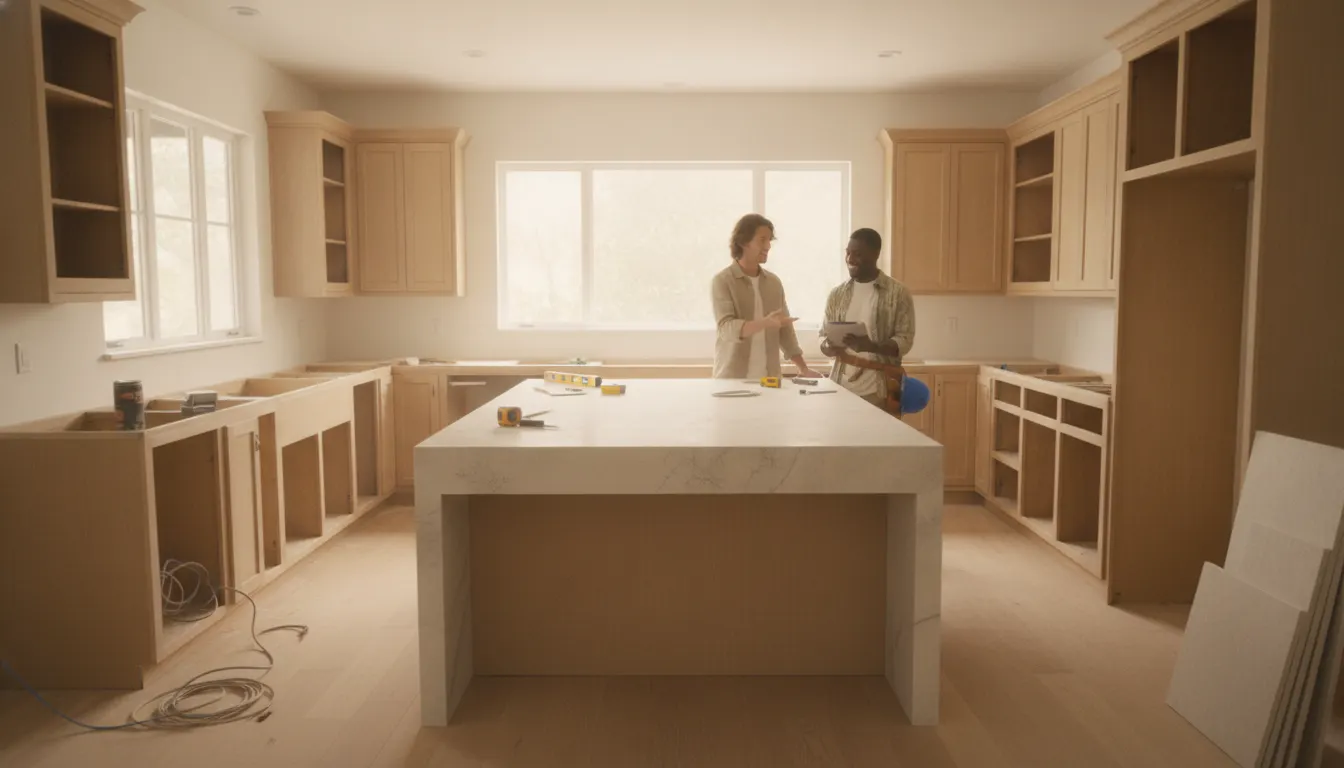
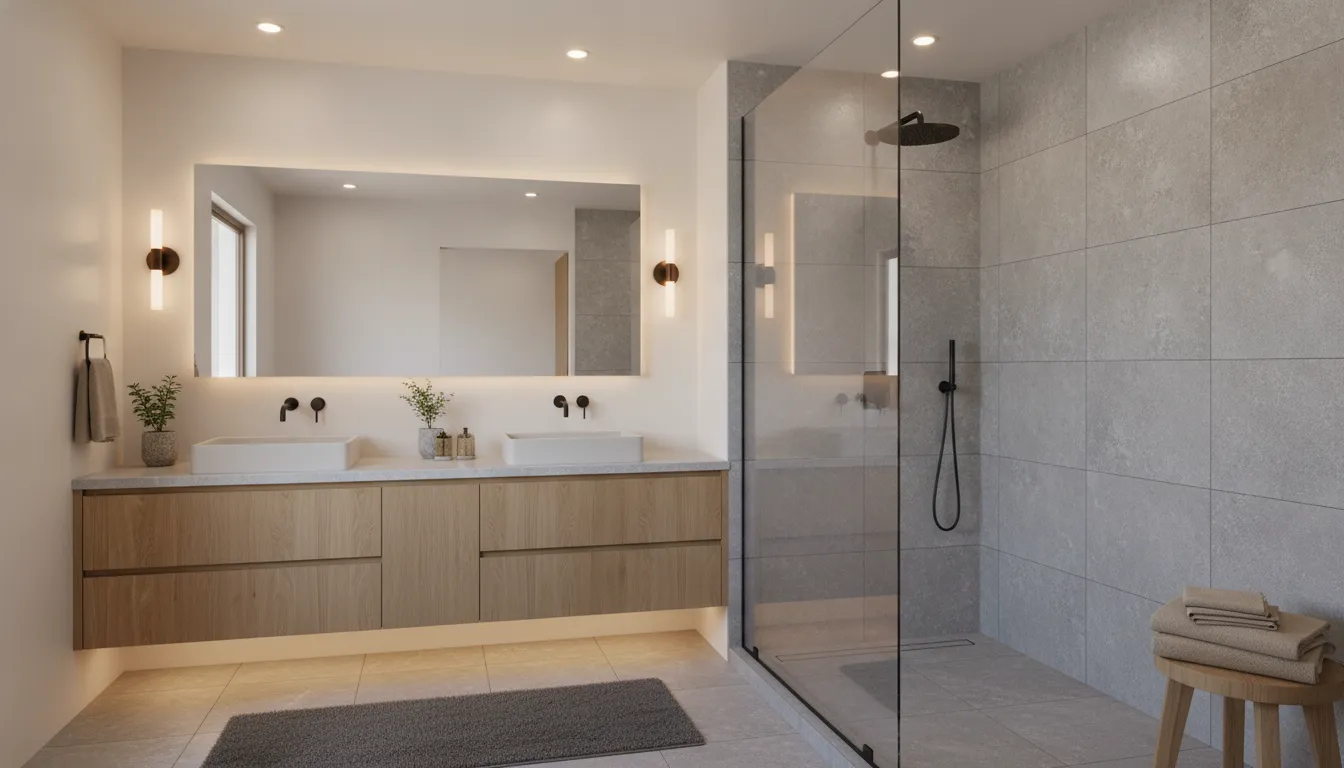
- Step 3: Add flooring, cabinetry, and countertops. With finished walls ready, the major visible surfaces begin to arrive. Flooring, cabinets, and countertops typically take about two to four weeks, although fabrication and material availability can affect the schedule. Installers need accurate measurements and a prepared site, particularly for custom cabinetry and stone surfaces. This is often where the contrast between the original rooms and the planned result becomes unmistakable.
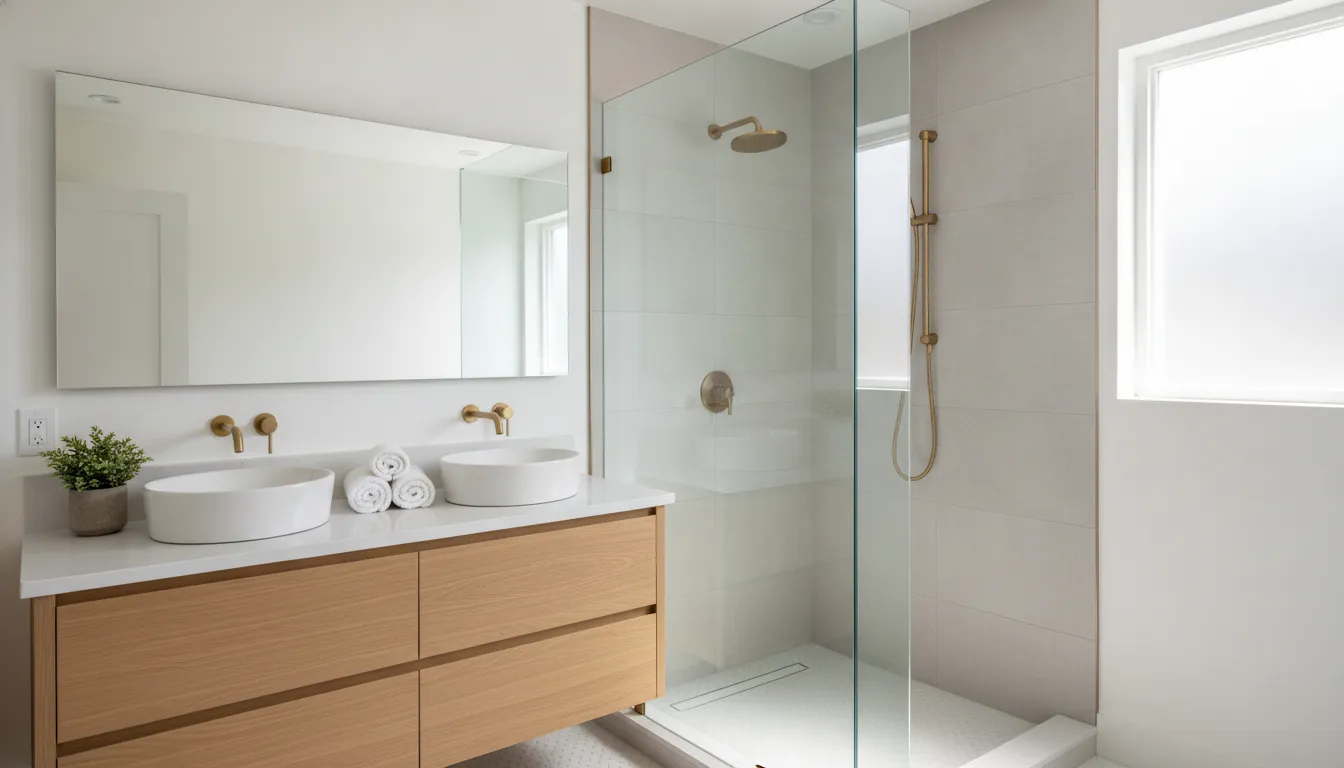
- Step 4: Complete interior finishes, paint, and fixtures. Painting, trim, doors, hardware, lighting, plumbing fixtures, and other finish details bring the design together. This final interior work often takes one to two weeks. Protect newly installed surfaces as trades move through the home, and review color, alignment, clearances, and operation as each room is completed.
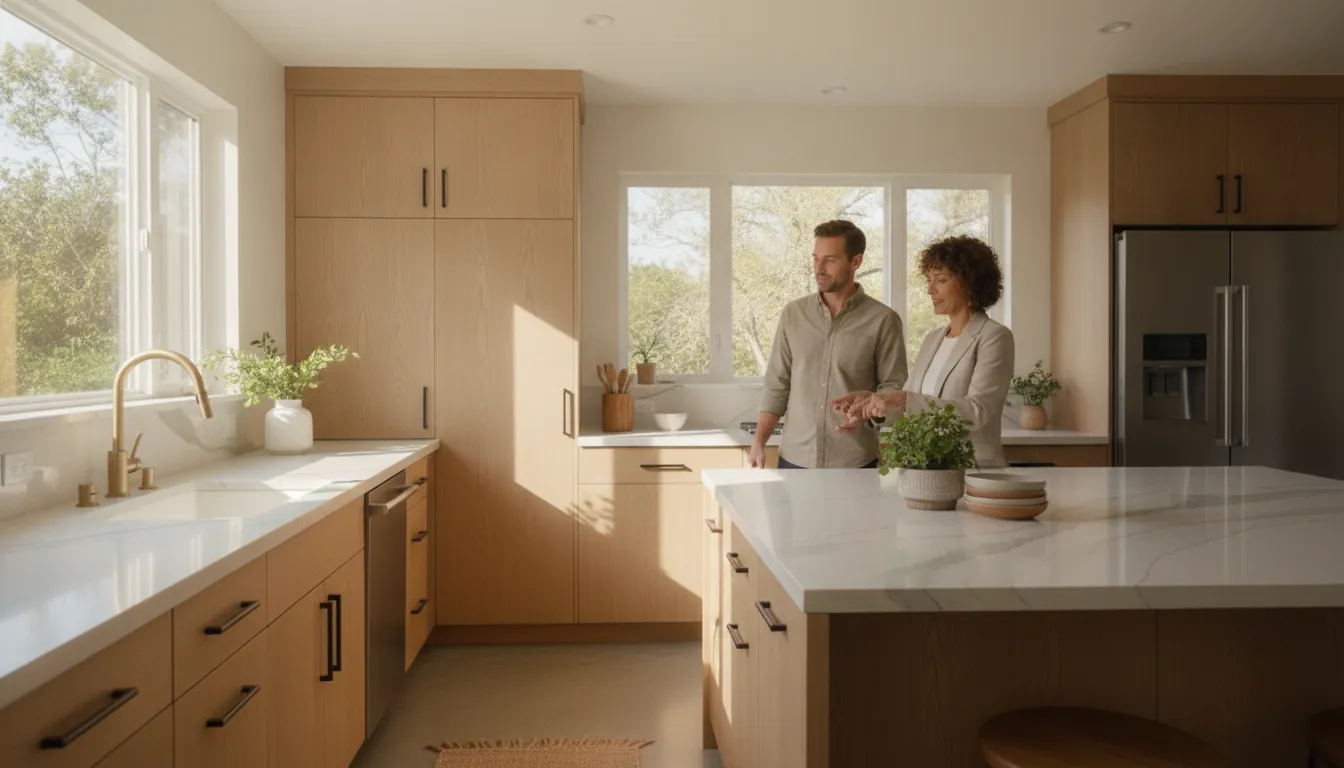
- Step 5: Install appliances and finish the details. Appliances are connected and tested, cabinet adjustments are made, covers and plates are installed, and small imperfections are corrected. Keep a running list of questions or visible issues rather than interrupting every trade for separate requests. The result is the moment homeowners finally see their vision come to life, with the practical systems behind the walls supporting the finished spaces.
For a broader view of how finish selections can affect the overall investment, review Realm Living's guide to full interior renovation cost. A whole-home renovation may take four to twelve months or more overall, but this concentrated phase is where the transformation becomes visible.
Phase 5: The Final Walkthrough, Punch Lists, and Move-In
The final walkthrough is where the renovation starts to feel real. Before furniture returns and daily life resumes, walk the finished spaces with your contractor in good light and compare the work with the plans, selections, and agreed scope. Bring your project notes, test every fixture, open every cabinet, and look closely at transitions, trim, paint, tile, doors, windows, and flooring.
Build a punch list together
Use blue painter's tape to mark each item directly in the home, then record the location, correction, and responsible party on a shared punch list. Small issues are easier to resolve when they are specific: a drawer that needs adjustment. A paint touch-up, a loose outlet cover, or a door that does not latch cleanly. A walkthrough is not complete when the contractor identifies the items. It is complete when the corrections are finished and you have reviewed them.
Ask for substantial completion and final completion to be treated as separate milestones. Substantial completion means the home is usable for its intended purpose, even if minor punch-list work remains. Final completion means the agreed corrections, inspections, paperwork, and closeout obligations are complete. Many owners retain 5% to 10% of the contract balance until closeout is finished, subject to the contract and applicable law. Confirm the exact terms before construction begins.
Collect the closeout documents
Before releasing the final payment, request lien waivers from every subcontractor and supplier, not only the general contractor. Also collect as-built drawings, product manuals, warranties, paint formulas, appliance information, inspection approvals, and any required certificate of occupancy. For major remodels, the certificate of occupancy confirms that the permitted work meets the jurisdiction's requirements for use. Keep the complete closeout package where you can find it later, especially before a future repair or sale.
A full-scale whole-home renovation typically takes 4 to 12 or more months, depending on its scope and complexity. That makes the final handoff more than a photo opportunity in any home renovation checklist. It is the point where documentation, quality, and accountability turn a dramatic before-and-after into a home you can confidently live in. Realm Living supports this phase through quality enforcement, ongoing project support, and a 2-year warranty. Its reported project issue rate is less than 10%, giving homeowners another layer of confidence after move-in.
Renovation Phases at a Glance: Timeline and Key Decisions
A whole-home renovation usually unfolds across connected phases rather than one uninterrupted stretch of construction. The sequence below offers a practical planning view, from the first budget conversation to the final closeout. Timelines are estimates, not promises: project size, permitting requirements, material availability, and conditions discovered behind walls can all change the schedule. For context, a full-scale whole-home renovation commonly takes 4 to 12 or more months. See a detailed renovation timeline for additional process context.
| Phase | Typical Duration | Key Decisions | Homeowner Stress Level | Realm Value-Add |
|---|---|---|---|---|
| Assessment & Budgeting | 2-6 weeks | Scope definition, contingency setup | Medium | Advisor support with budget planning and bid database analysis |
| Design & Permitting | 6-14 weeks | Layout, materials, permits | Medium-High | Custom renderings and permit guidance |
| Demolition & Structural | 2-9 weeks | Safety, hidden issues, timeline | High | Conflict resolution and contractor oversight |
| Rough-Ins & Finishes | 6-14 weeks | Build order, material lead times | High | Coordinated site visits and bid management |
| Final Walkthrough & Closeout | 1-4 weeks | Punch list, lien waivers, certificate of occupancy | Low | Quality enforcement and ongoing support |
The table also shows why the homeowner experience can feel uneven. Early phases require concentrated decisions, while demolition and finish work often bring the most disruption and coordination demands. A defined scope and careful documentation before construction help reduce expensive mid-project changes. Use this home renovation checklist to keep decisions, approvals, and closeout items visible as your project moves from its original condition to the finished result.
Frequently Asked Questions
What is the 30% rule for renovations?
The 30% rule is a rough budgeting guideline, not a universal requirement. Some homeowners use it as a ceiling for spending on a single major space or as a way to compare renovation costs with the home's value. Treat it as a starting point, then adjust for your home's condition, neighborhood, project scope, financing, and expected length of ownership.
What is the most expensive part of a house to remodel?
Costs vary, but structural changes, kitchens, additions, and whole-home systems often require the greatest investment. Moving walls, upgrading electrical or plumbing, changing the roofline, and installing high-end cabinetry can each affect the budget. A detailed scope and comparable bids are more reliable than assuming one room always costs the most.
How long does a whole home renovation take?
A whole-home renovation typically takes 4 to more than 12 months, depending on the size, complexity, design decisions, permitting, material availability, and discoveries made during construction. A clear scope, finalized plans, and timely homeowner decisions can reduce avoidable delays. See the source timeline.
How can I plan a successful home renovation?
Begin by documenting your priorities, defining the scope, setting a realistic budget, and confirming how the finished spaces should function. Finalize key design choices before demolition, including layouts, finishes, hardware, and paint. Changes are generally less expensive on paper than after construction begins, so leave room for a contingency and make decisions in sequence.
What does a home renovation roadmap look like?
The usual path moves from scope and budgeting to design, permitting, contractor selection, site protection, demolition, rough-in mechanical work, finishes, inspections, and punch-list closeout. The phases overlap, but each decision supports the next. Mapping the sequence helps homeowners understand what they need to decide before the visible transformation begins.
Ready to Start Your Home Renovation Journey?
From the first planning conversation to the final walkthrough, Realm Living is here to guide you through every phase of your home renovation before and after transformation. With a dedicated advisor, custom project planning, and access to a network of vetted contractors, you'll have expert support at every step.
Start with a free consultation. Your $299 deposit is credited toward your project.