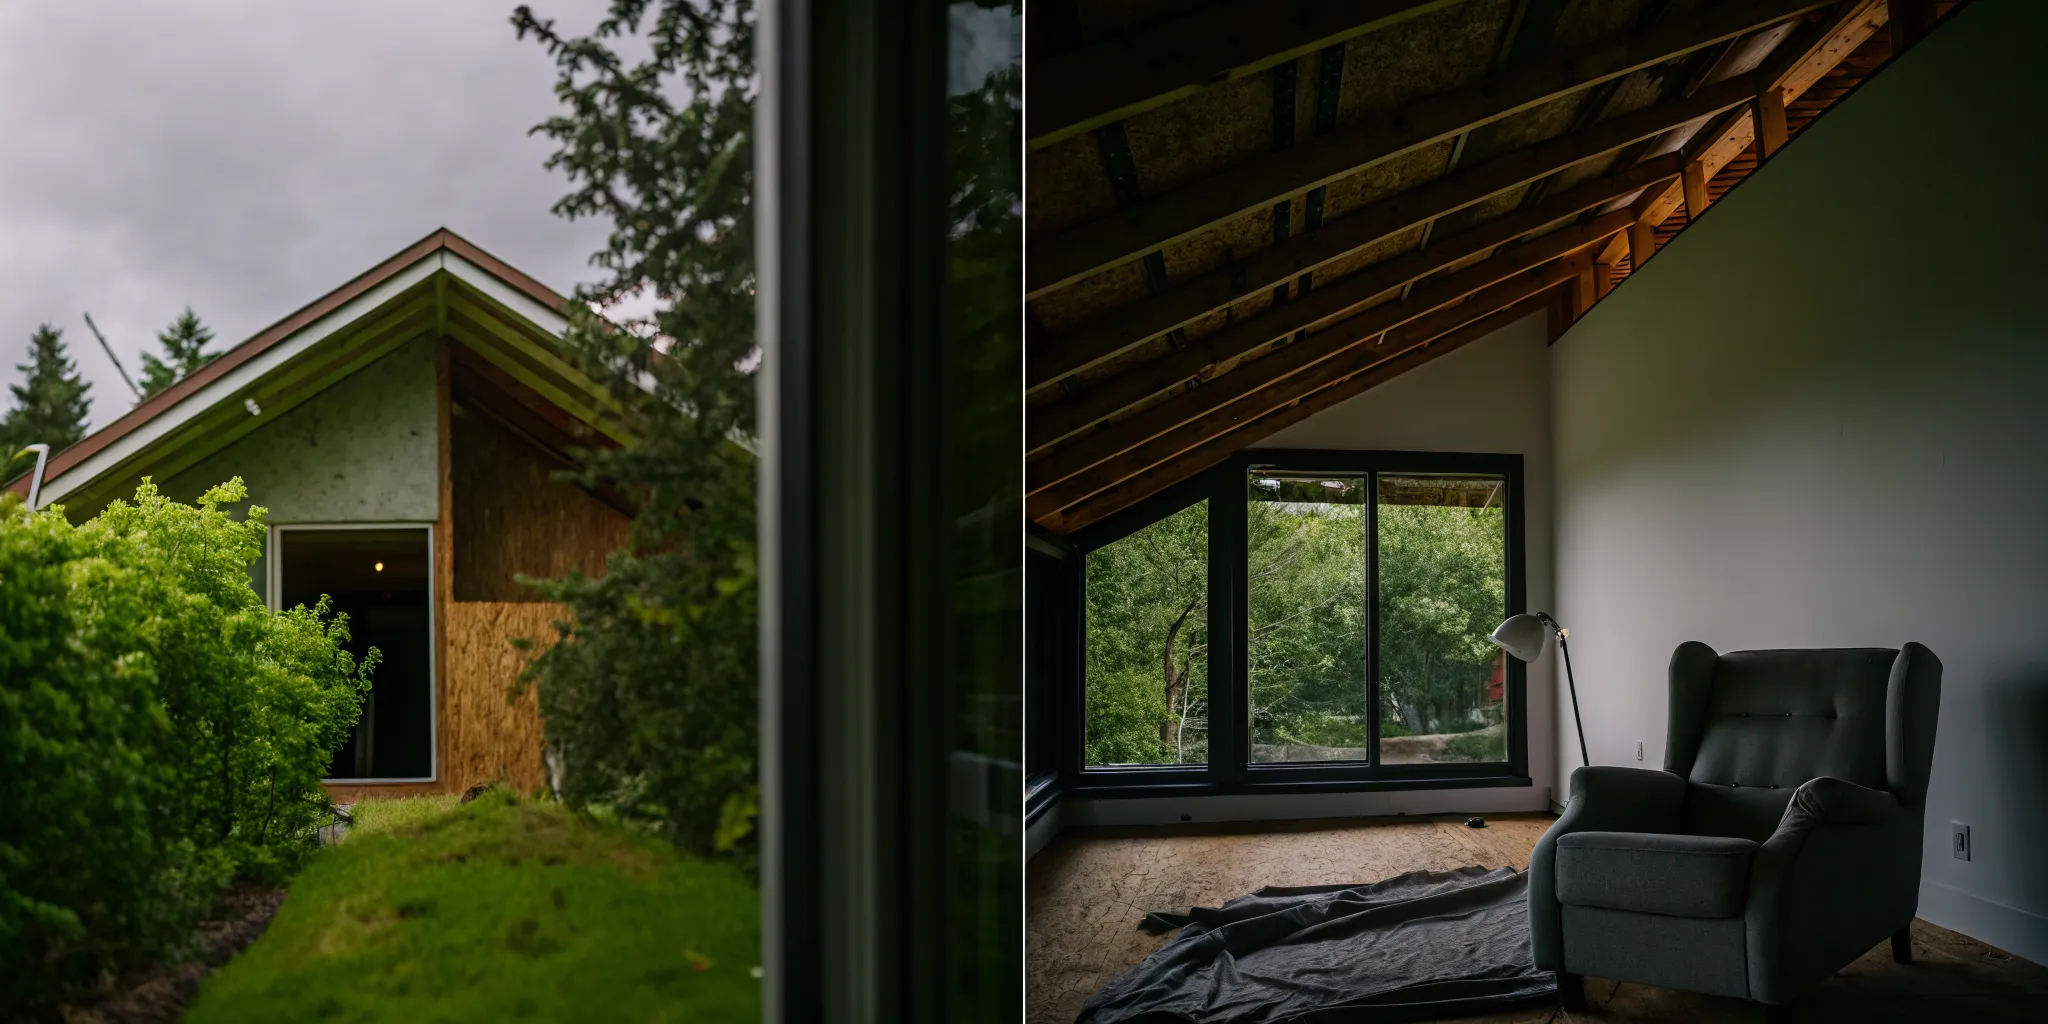
Home Renovation Before and After: A Complete Journey From Plan to Finish
Plan your renovation before and after with confidence. Explore the journey from budgeting and design through demolition, finishes and your final walkthrough.
|
August 3, 2026

In this article:
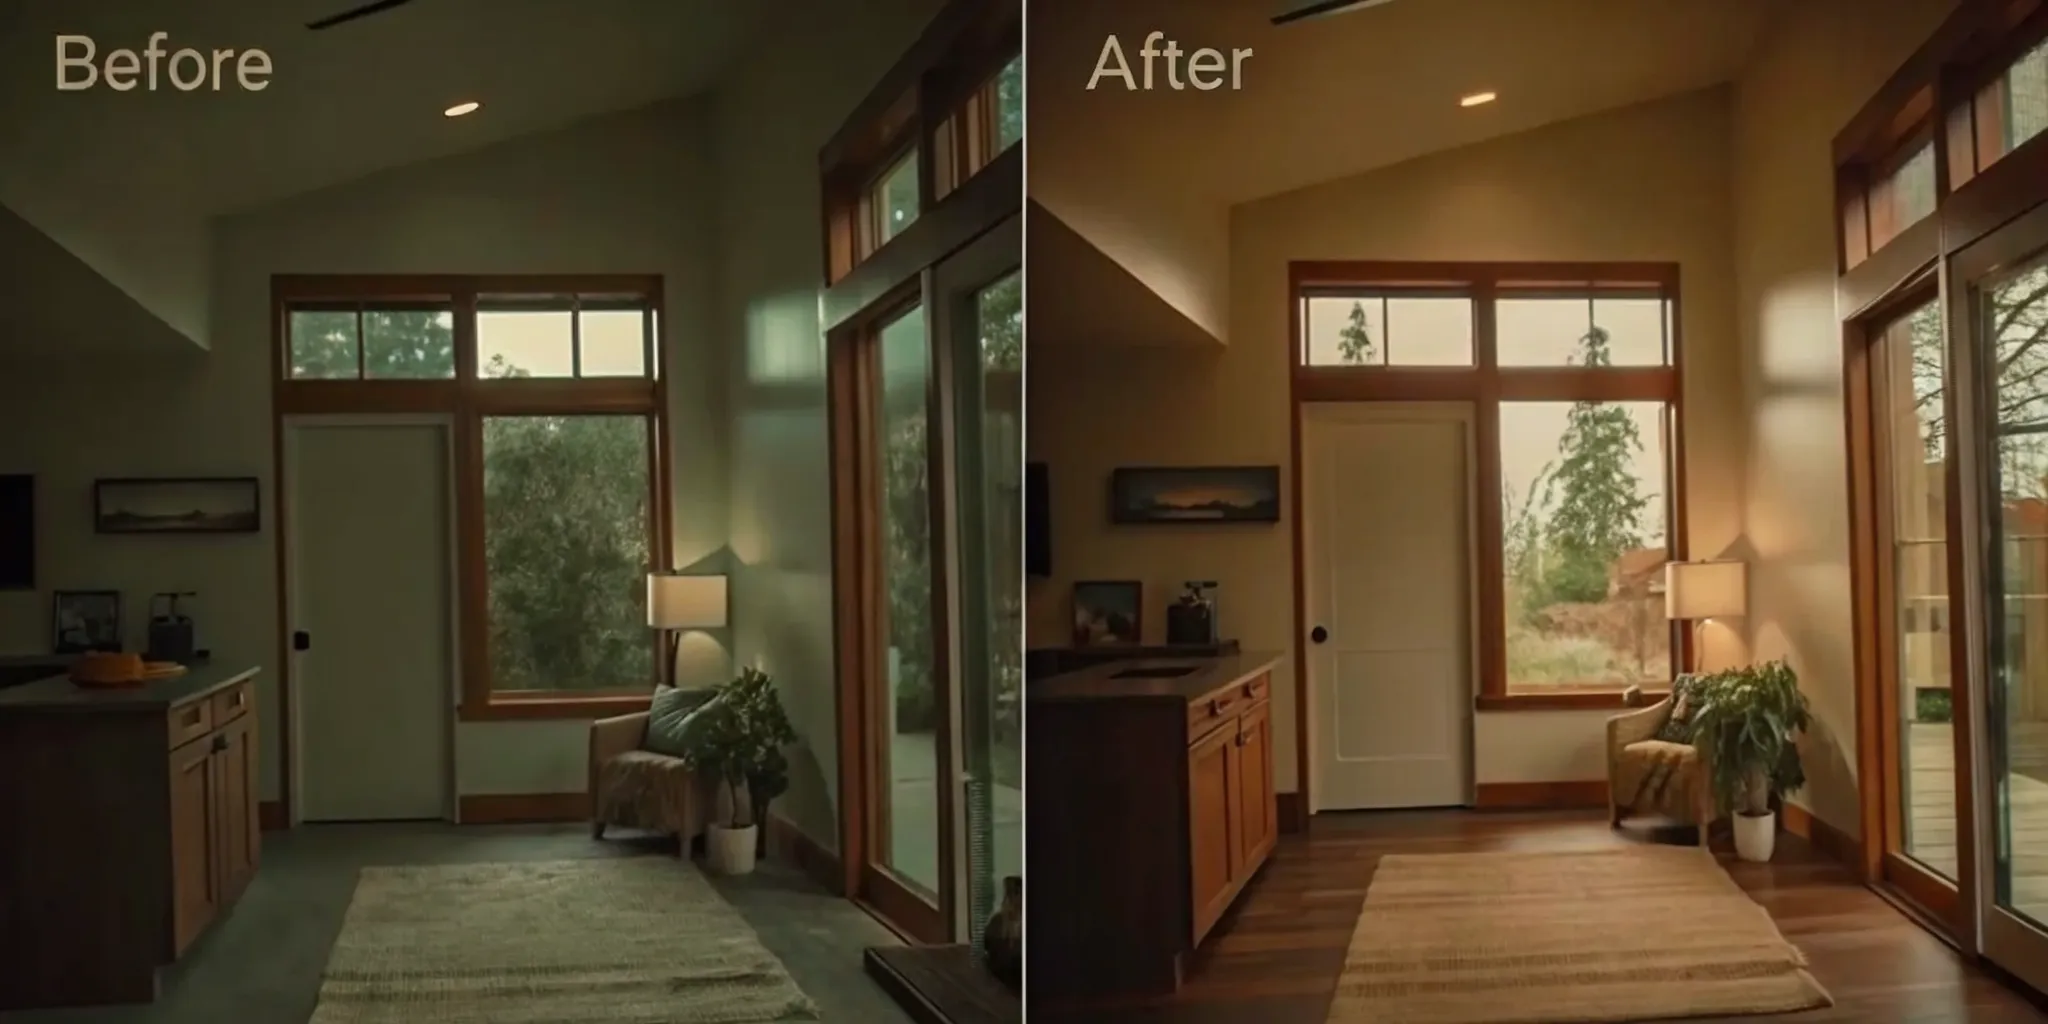
A successful renovation is easier to understand when you can see the path from the original space to the finished result. The dramatic before-and-after photos may be what first inspires a project, but the transformation depends on quieter decisions made long before demolition: defining the scope. Setting a realistic budget, developing the design, securing permits, and choosing the right contractor. A full-scale renovation can take four to more than 12 months, depending on its size and complexity, so a clear roadmap helps you plan with fewer surprises.
Home renovation before and after planning means connecting the visible transformation to every decision behind it. From the first assessment and budget through construction, inspections, and the final walkthrough. With organized guidance, homeowners can make informed choices before changes become expensive to revise.
The journey begins by turning your goals for a kitchen, bathroom, addition, ADU, or whole-home remodel into a defined project plan. That first assessment establishes what is possible, what it may cost, and how the renovation can move forward with confidence.
How Your Home Renovation Before and After Begins With Assessment and Budgeting
Before finishes, demolition, or contractor bids, establish what the renovation must accomplish. A reliable budget is not a guess based on a few inspiration photos. It is the financial expression of a clearly defined scope, measured conditions, priorities, and realistic allowances.
Define the scope before you price the work
Start by documenting the home's current condition and the outcome you want. Measure rooms, ceiling heights, doors, windows, and the locations of plumbing, electrical, and HVAC systems. Note structural concerns and any constraints that could affect design or permitting. Then separate must-haves from nice-to-haves. A kitchen may require better storage and a new layout, while a specialty appliance or upgraded finish can remain optional if the budget tightens.
Make these decisions on paper before construction begins. A change made during planning is usually a revision. The same change after drywall may require demolition, rework, and new materials. A comprehensive scope document also reduces mid-project surprises that can inflate renovation costs by 20 percent or more. For a broader framework, see this guide to planning a whole house remodel.
Build a budget with room for reality
Use the scope to create a working budget, not just a headline construction number. Include design, permitting, materials, labor, temporary living arrangements, and any required upgrades to the home's systems. Set aside a contingency of 10 to 20 percent for conditions that cannot be confirmed until walls or floors are opened. Older homes and projects involving structural changes generally deserve more protection.
Early benchmarks can help establish expectations. Mid-range whole-home remodels commonly run about $200 to $400 per square foot. While a kitchen remodel may fall around $14,600 to $40,000 depending on size, layout, materials, and regional labor costs. These ranges are starting points, not quotes. The final figure depends on the decisions captured in your scope and the bids those decisions produce.
Realm Living advisors help homeowners shape the budget, compare bids, and identify differences in allowances or exclusions. Their analysis draws on the largest renovation bid database in the United States, adding useful context to contractor pricing instead of asking homeowners to compare numbers in isolation.
Phase 2: Design, Permits, and Pre-Construction - The Blueprint Stage
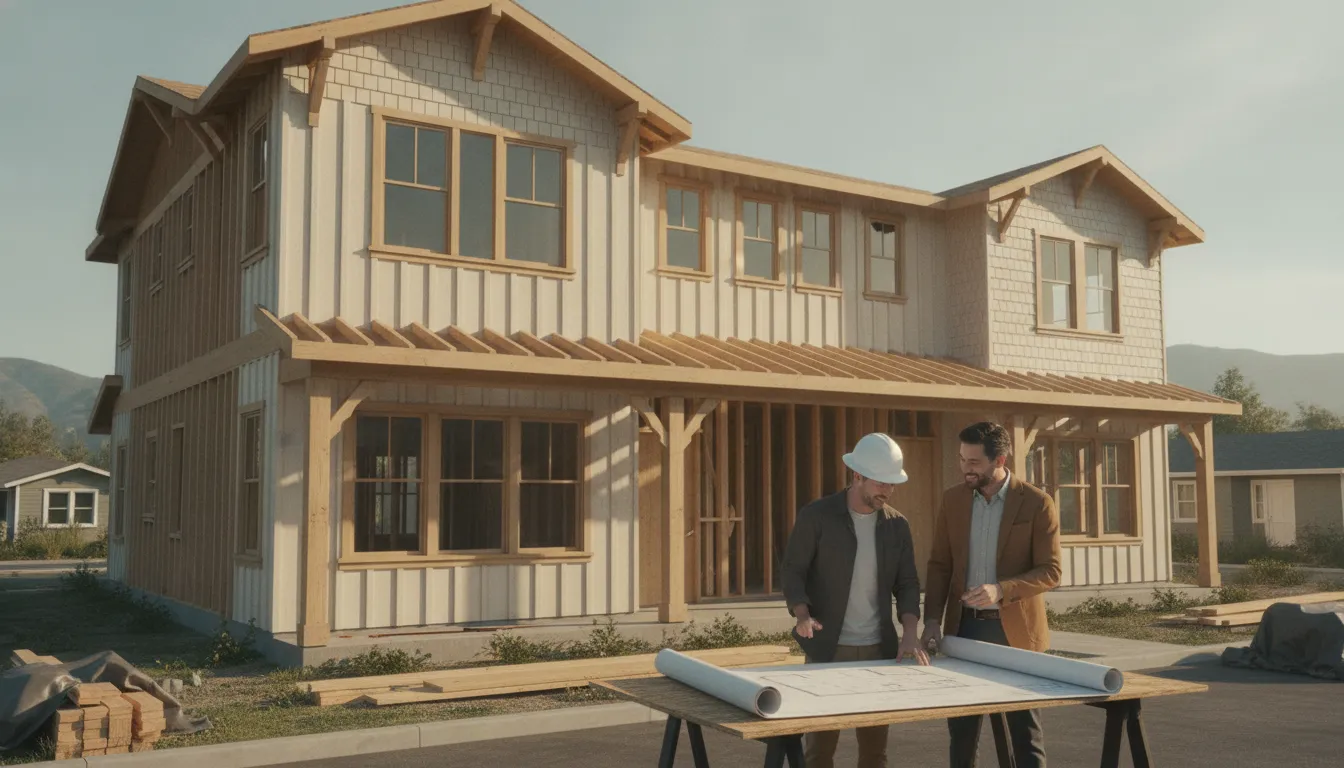
Once the renovation scope is clear, the project moves from ideas to documents that a contractor can act on. This pre-construction phase turns requirements into a concrete plan — selecting the design approach, securing permits, and completing site preparation. The goal is to finalize everything before breaking ground, turning decisions made in the abstract into buildable specifications that contractors and trades will follow.
Design development and material selection
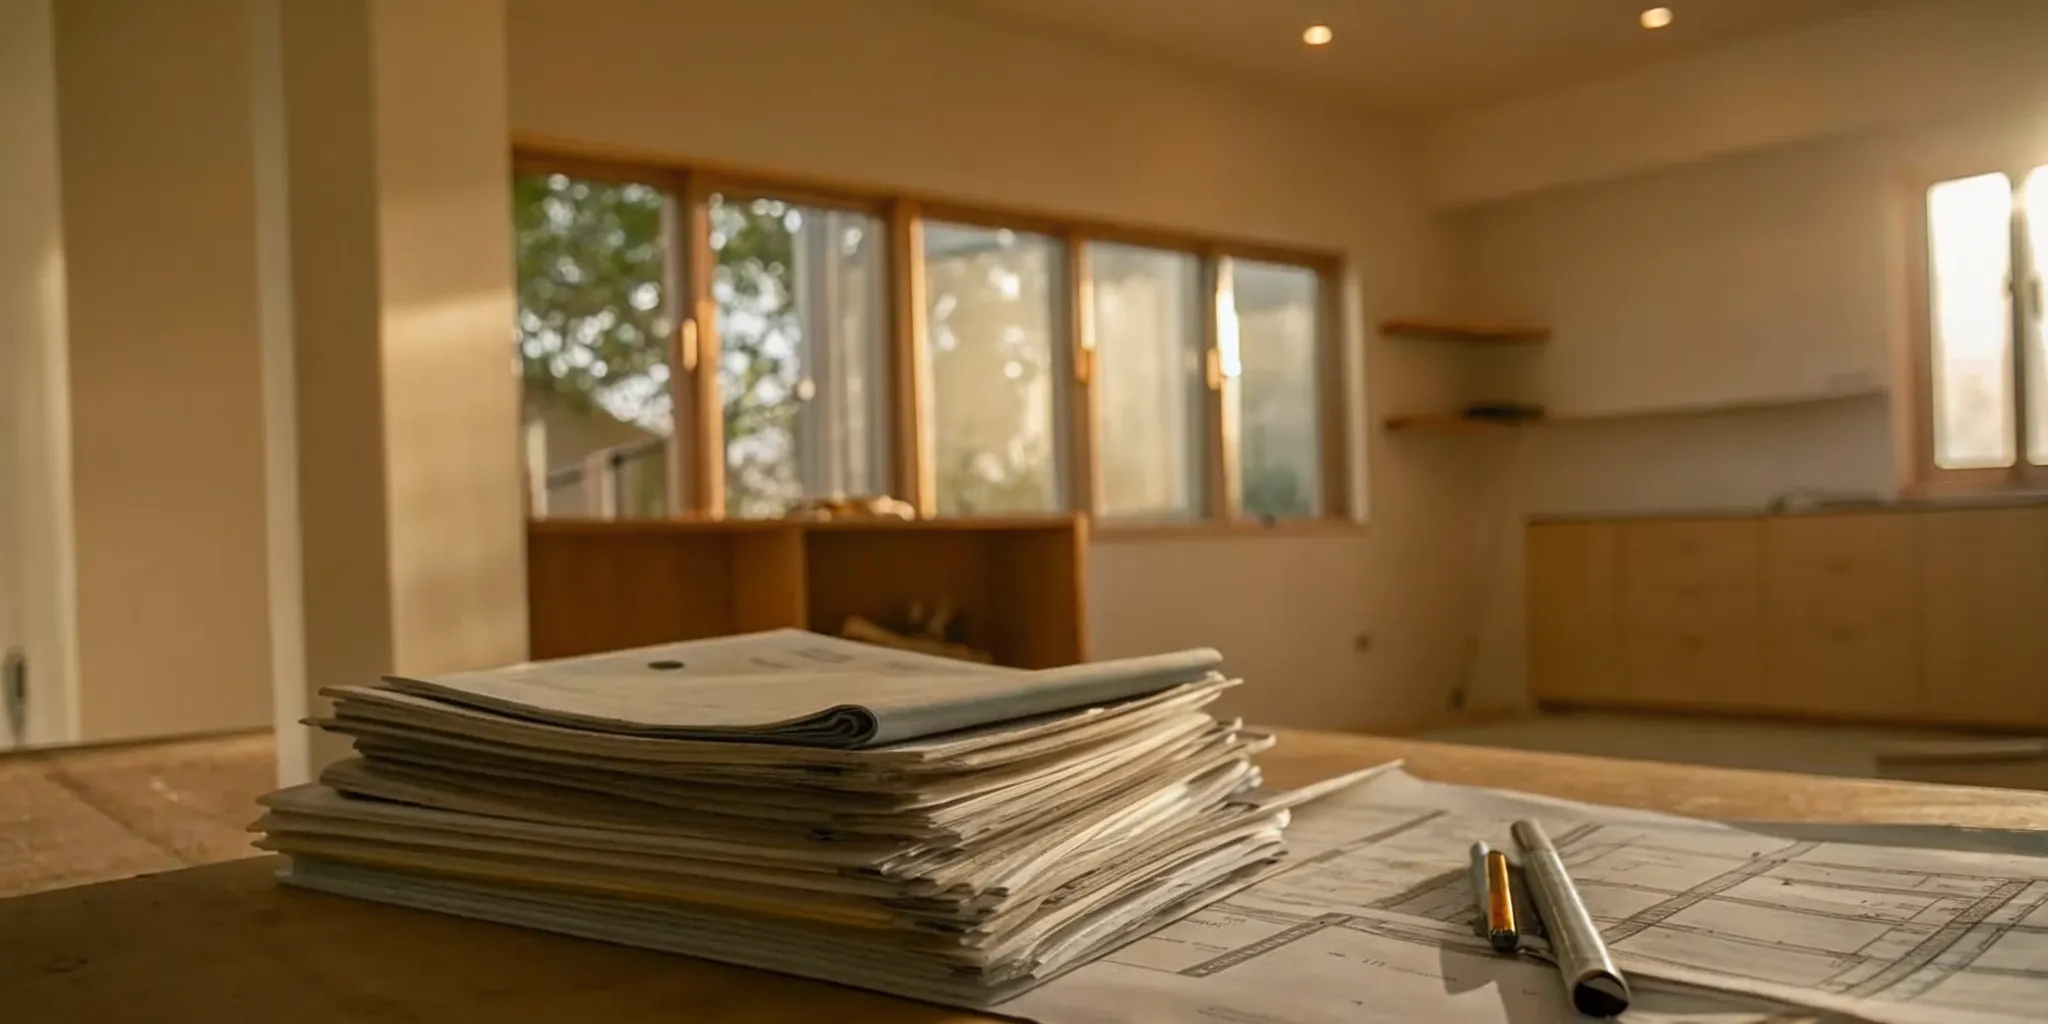
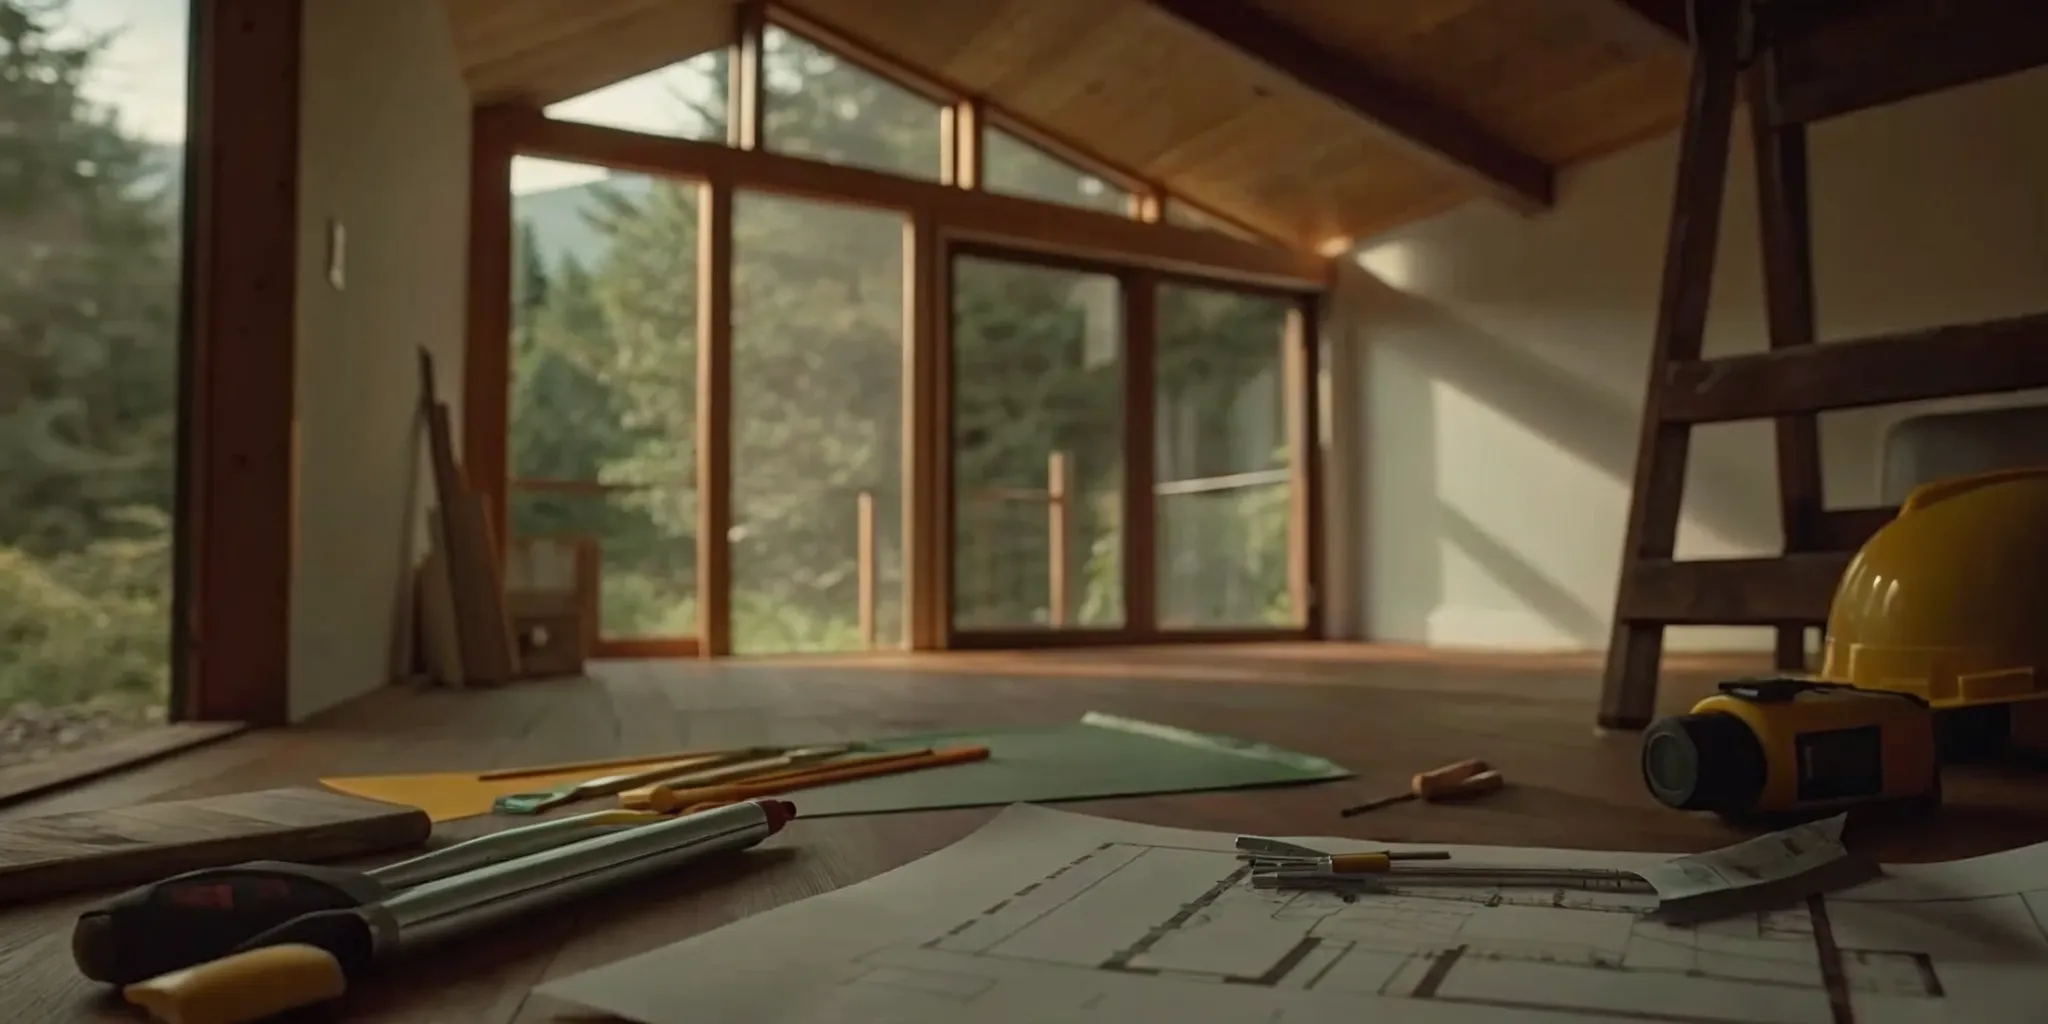
Translate your scope into detailed architectural drawings, floor plans, and elevations. These documents allow for structural, mechanical, and finish decisions to be finalized before any construction begins. For a major renovation — whether a whole-home remodel, kitchen, bathroom, or addition — this stage typically involves selecting cabinets, countertops, flooring, fixtures, appliances, windows, doors, lighting, and paint colors.
Material lead times are a critical consideration. Some items — such as custom cabinetry, specialty tile, windows, and appliances — can take weeks or months to arrive. Ordering early and storing materials or managing lead times through the construction schedule prevents delays. Homeowners in Los Angeles, San Diego, San Francisco, or the Pacific Northwest should be aware that high demand and regional supply chains can affect availability.
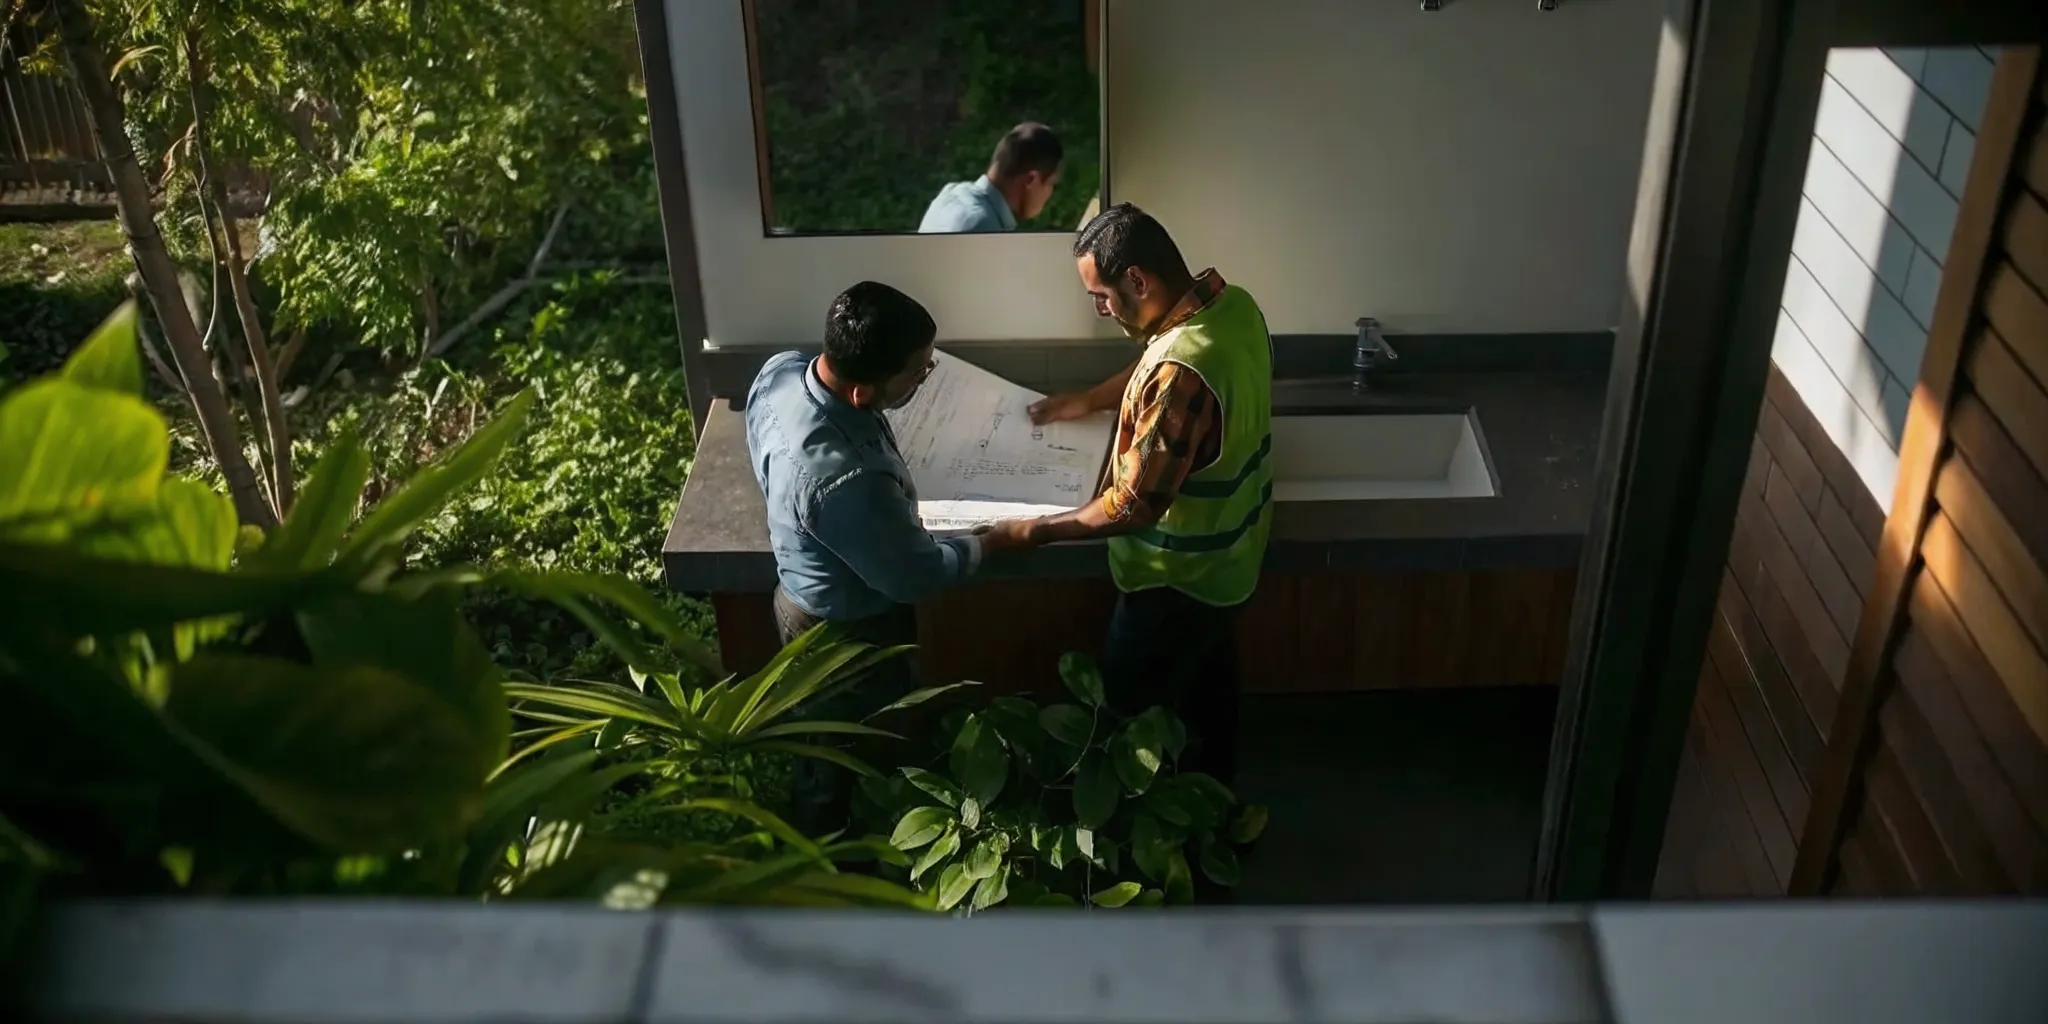
Realm Living advisors can help review design documents and provide feedback before signing a construction contract. This independent review ensures the permit set aligns with your scope and budget constraints, especially if you are managing the design process without a general contractor.
Permitting process and municipal requirements
Permitting is one of the most underestimated phases in a home renovation before and after. Building permits are required for structural changes, electrical and plumbing work, additions, HVAC modifications, and demolition. Your contractor or architect typically files applications, but homeowners should confirm who holds permit responsibility before work begins.
Permit timelines vary by jurisdiction. Review times can span a few weeks for straightforward projects and several months for complex ones. California cities like Los Angeles and San Francisco have established building departments with published review periods. In the Pacific Northwest, Seattle and surrounding areas have similar procedures. Homeowners should verify zoning, setback, and historic district requirements early, as these can reshape the design scope before permits are filed.
A pre-construction meeting with the contractor or project manager aligns all parties before demolition. This meeting typically reviews the schedule, site access, waste disposal, utility disconnections, protection of adjacent areas, and communication protocols. Some jurisdictions also require pre-demolition inspections, termite reports, or lead paint and asbestos testing for homes built before 1978. For guidance on building a reliable budget from these early estimates, see renovation cost guides and benchmarks.
Phase 3: Demolition and Structural Work - The Dramatic Before
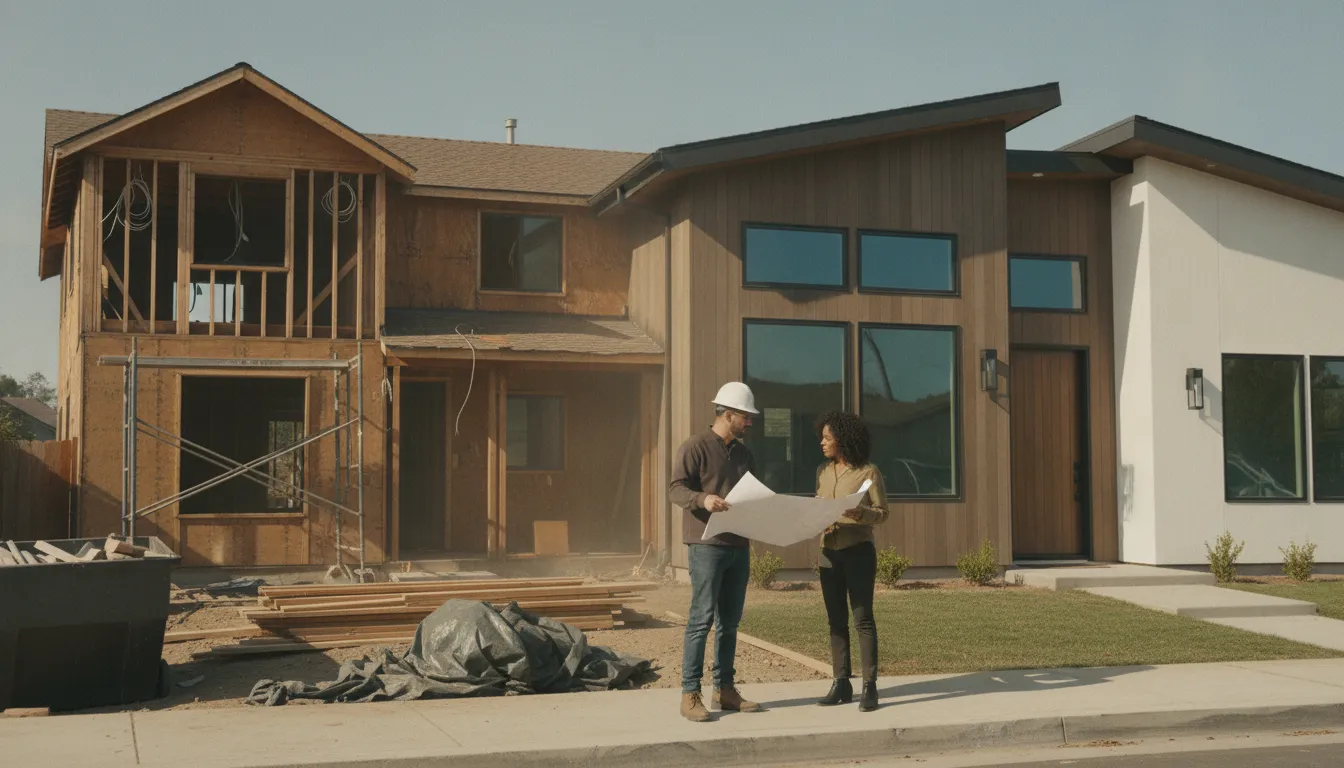
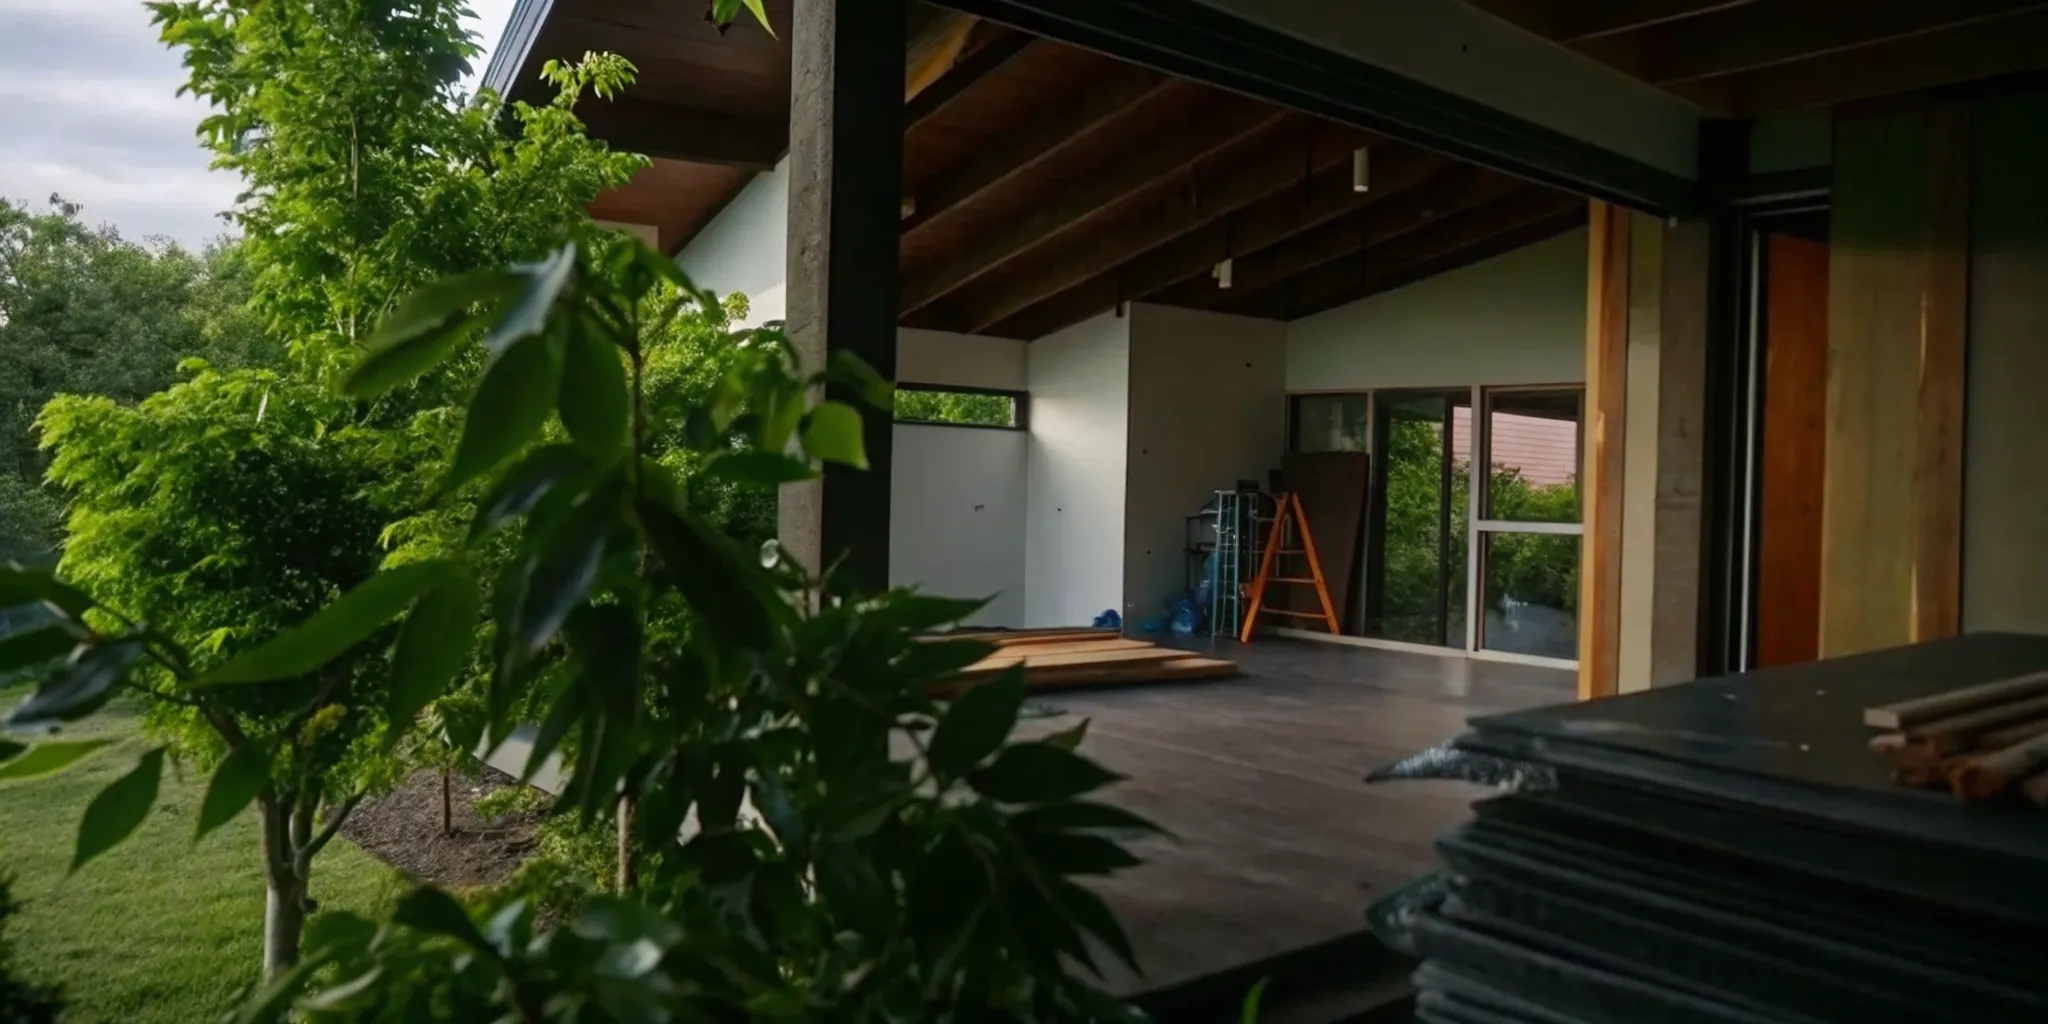
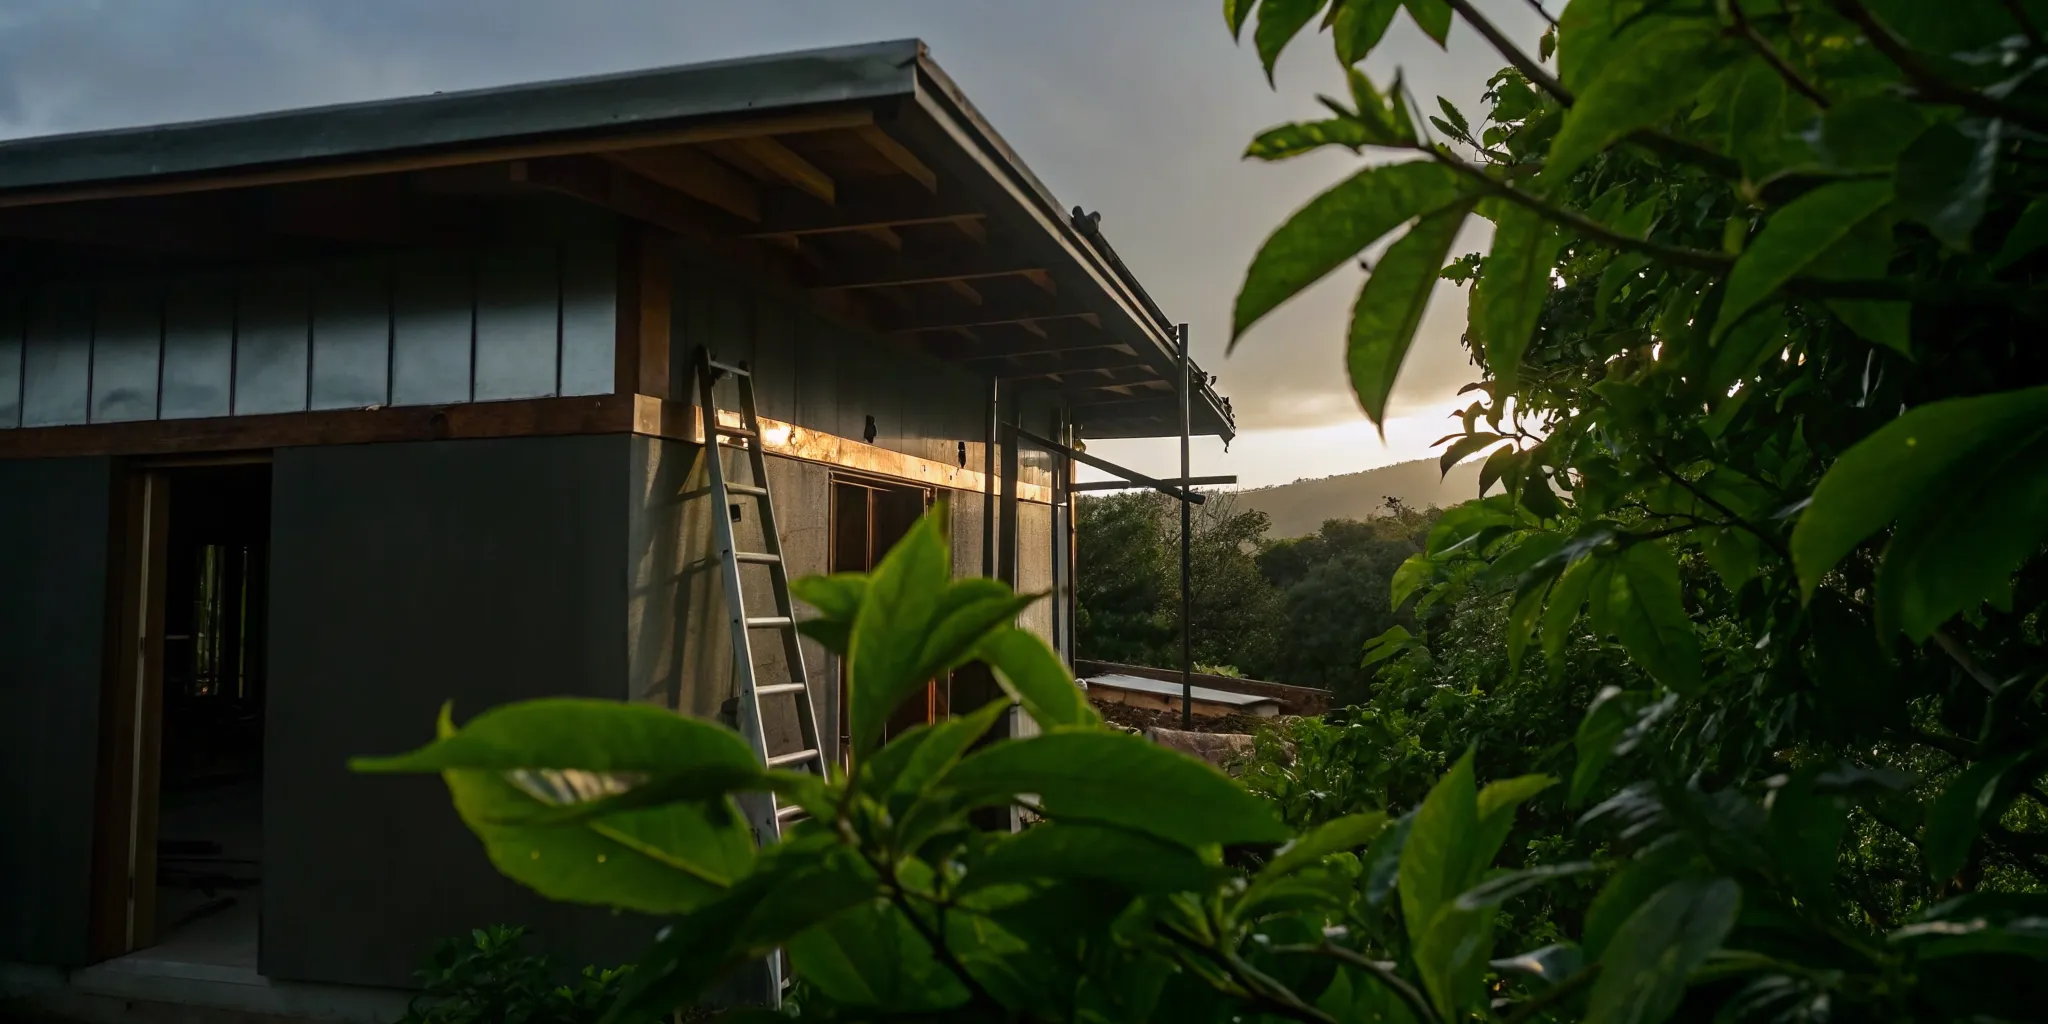
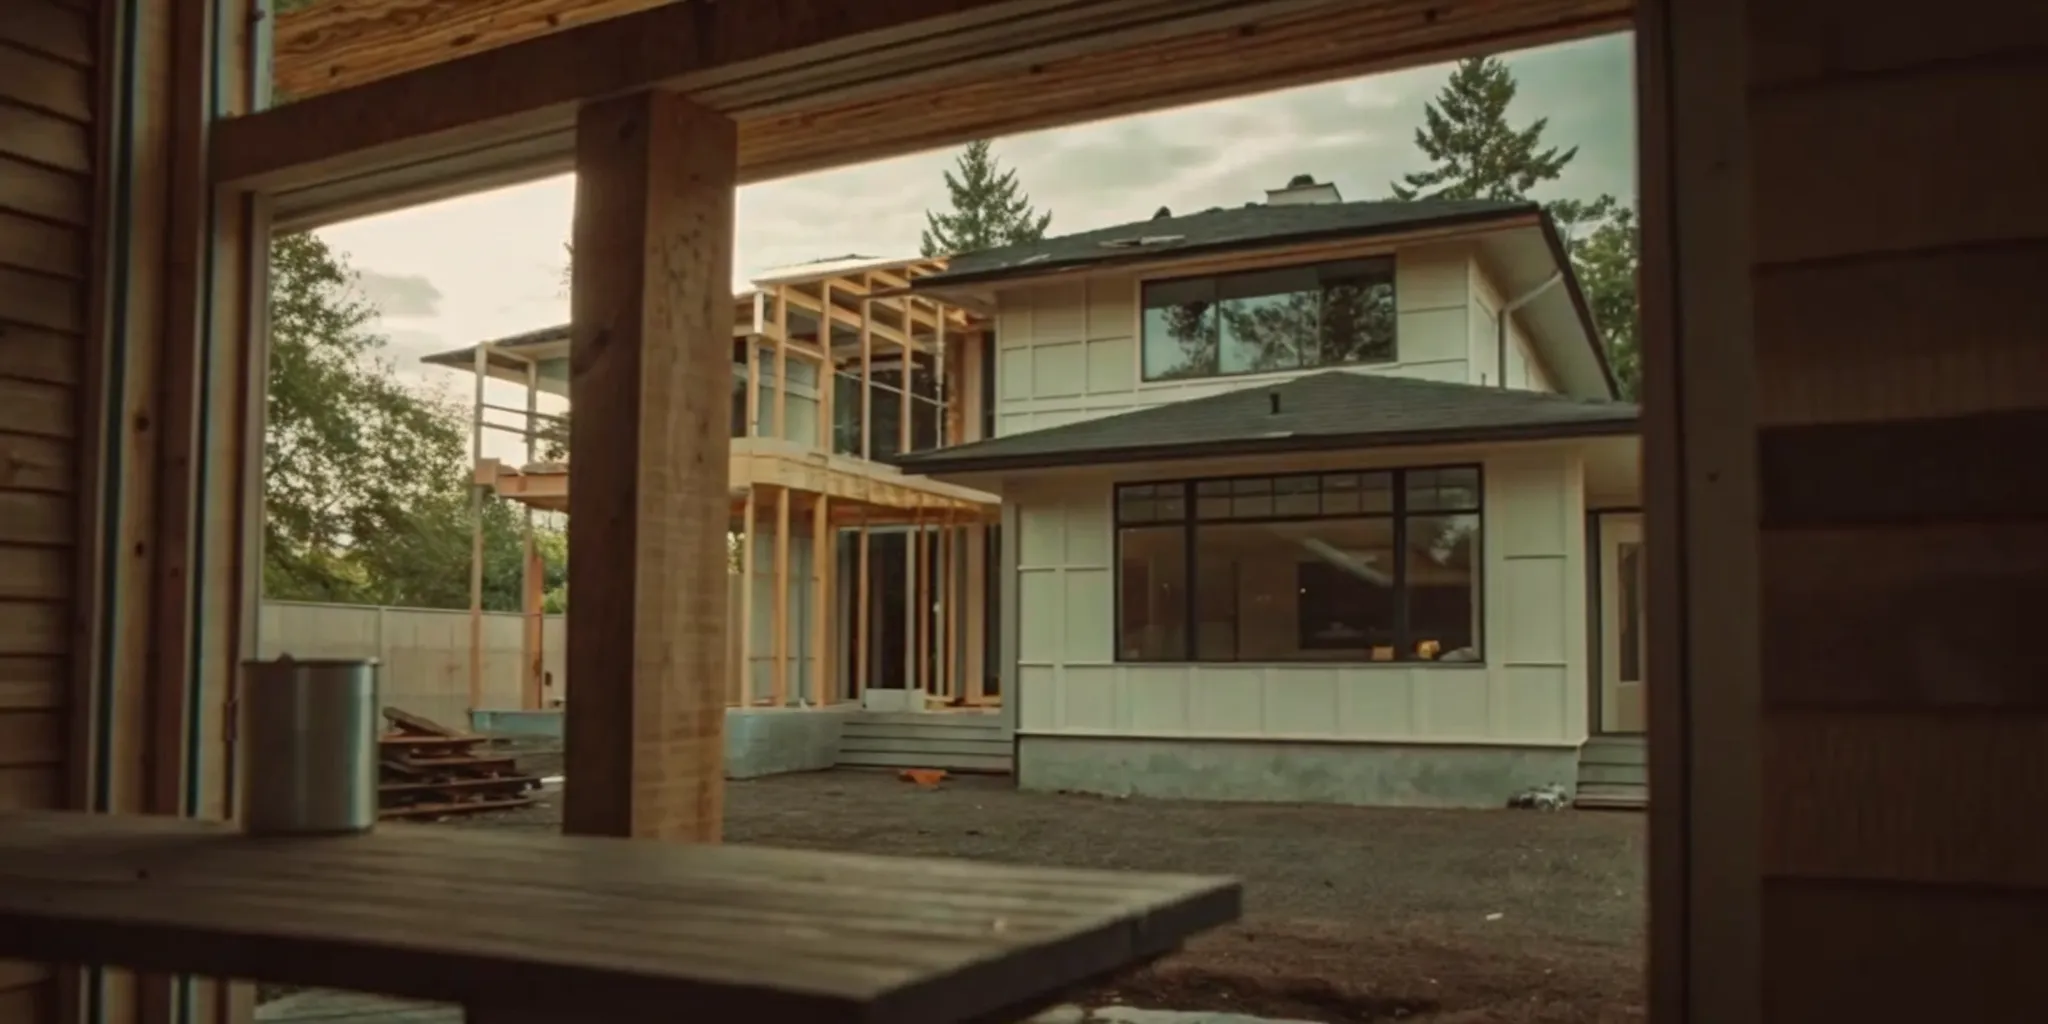
Demolition represents the visible "before" that makes renovation photos so compelling. Walls come down, cabinets are removed, and the home returns to its structural core. For homeowners, this phase can be the most unsettling, but it is a step that opens up the space for the work ahead.
What demolition involves
Selective demolition removes only what is necessary for the renovation — non-load-bearing walls, old flooring, cabinets, fixtures, and finishes. This is distinct from gutting the entire space, which is sometimes necessary for a full structural renovation. A competent demolition crew uses dust control, protects adjacent areas, and follows safety protocols for debris removal, including proper disposal of hazardous materials.
A lead-safe renovation is mandatory for homes built before 1978 where painted surfaces are disturbed. The EPA's Renovation, Repair and Painting (RRP) Rule requires certified contractors and containment measures. Asbestos testing is also required before demolition in older homes — the CDC provides guidelines for identifying and managing asbestos in residential renovations.
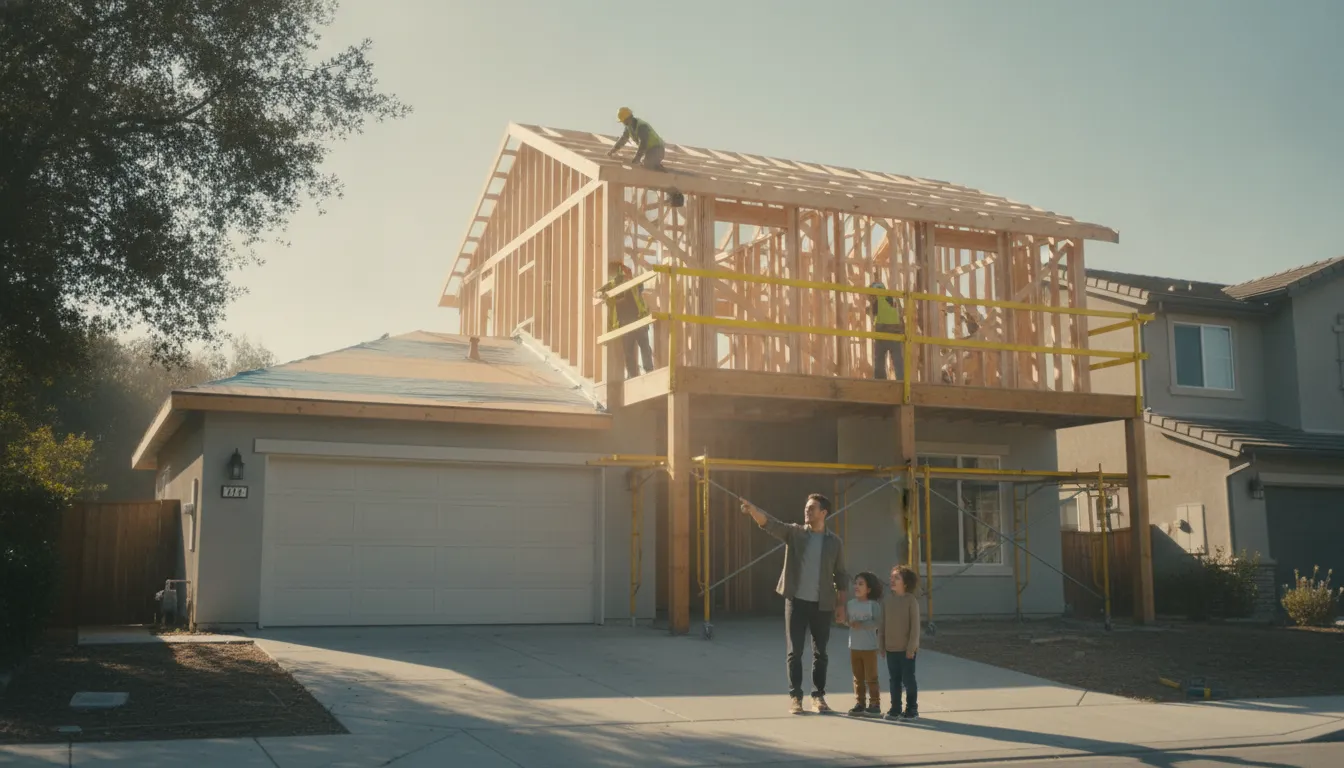
Structural work often begins during or immediately after demolition. This includes reinforcing walls, repairing or replacing floor joists, adding beams for open-concept layouts, and upgrading the home's foundation if necessary. Structural modifications require engineering approval and must be inspected before proceeding.
Managing the mess without losing your mind
Even a well-planned demolition creates dust, noise, and disruption. Set expectations: designate off-limits areas, establish a cleanup schedule, and communicate with contractors about daily conditions. For occupied renovations, consider a dust containment system that seals the work area with plastic sheeting and uses negative air pressure. Temporary kitchen and bathroom setups may be necessary during renovation periods that affect these rooms.
Phase 4: Rough-Ins, Drywall, and Finishes - The Transformation
The transition from demolition to rough-ins marks a turning point: the work becomes construction rather than destruction. Walls are rebuilt, systems are installed, and the new space begins to take shape. In any home renovation before and after story, this middle phase is where the actual transformation unfolds behind the walls.
Rough-in stage
After the structural work and before any wall finishes, the mechanical systems that make the home functional are installed: electrical wiring, plumbing supply and drain lines, HVAC ductwork, and low-voltage wiring for data, speakers, or smart home controls. All rough-in work must pass inspection before drywall can be installed.
This is the time to finalize decisions about outlet and switch locations, lighting fixture placements, plumbing fixture rough-in heights, and thermostat and vent locations. Once drywall is up, changing these locations requires cutting into finished surfaces.
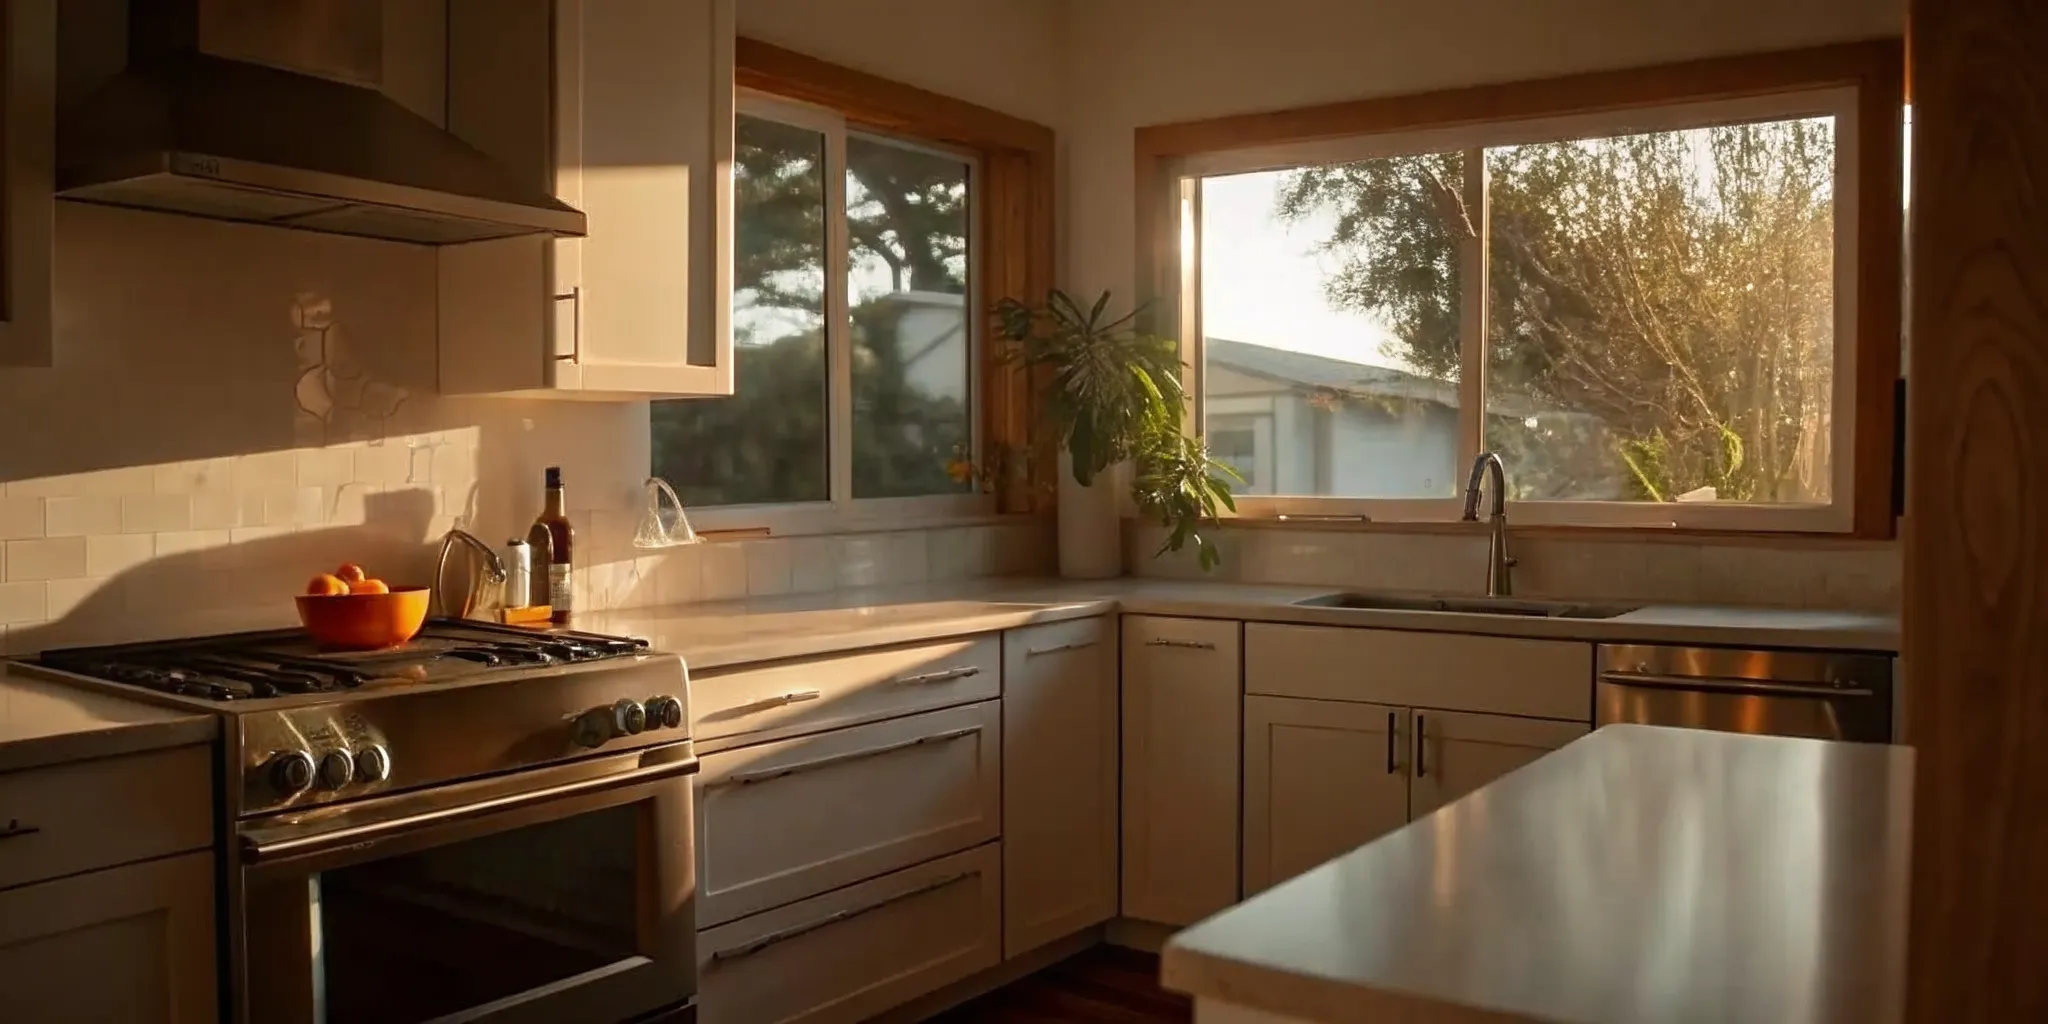
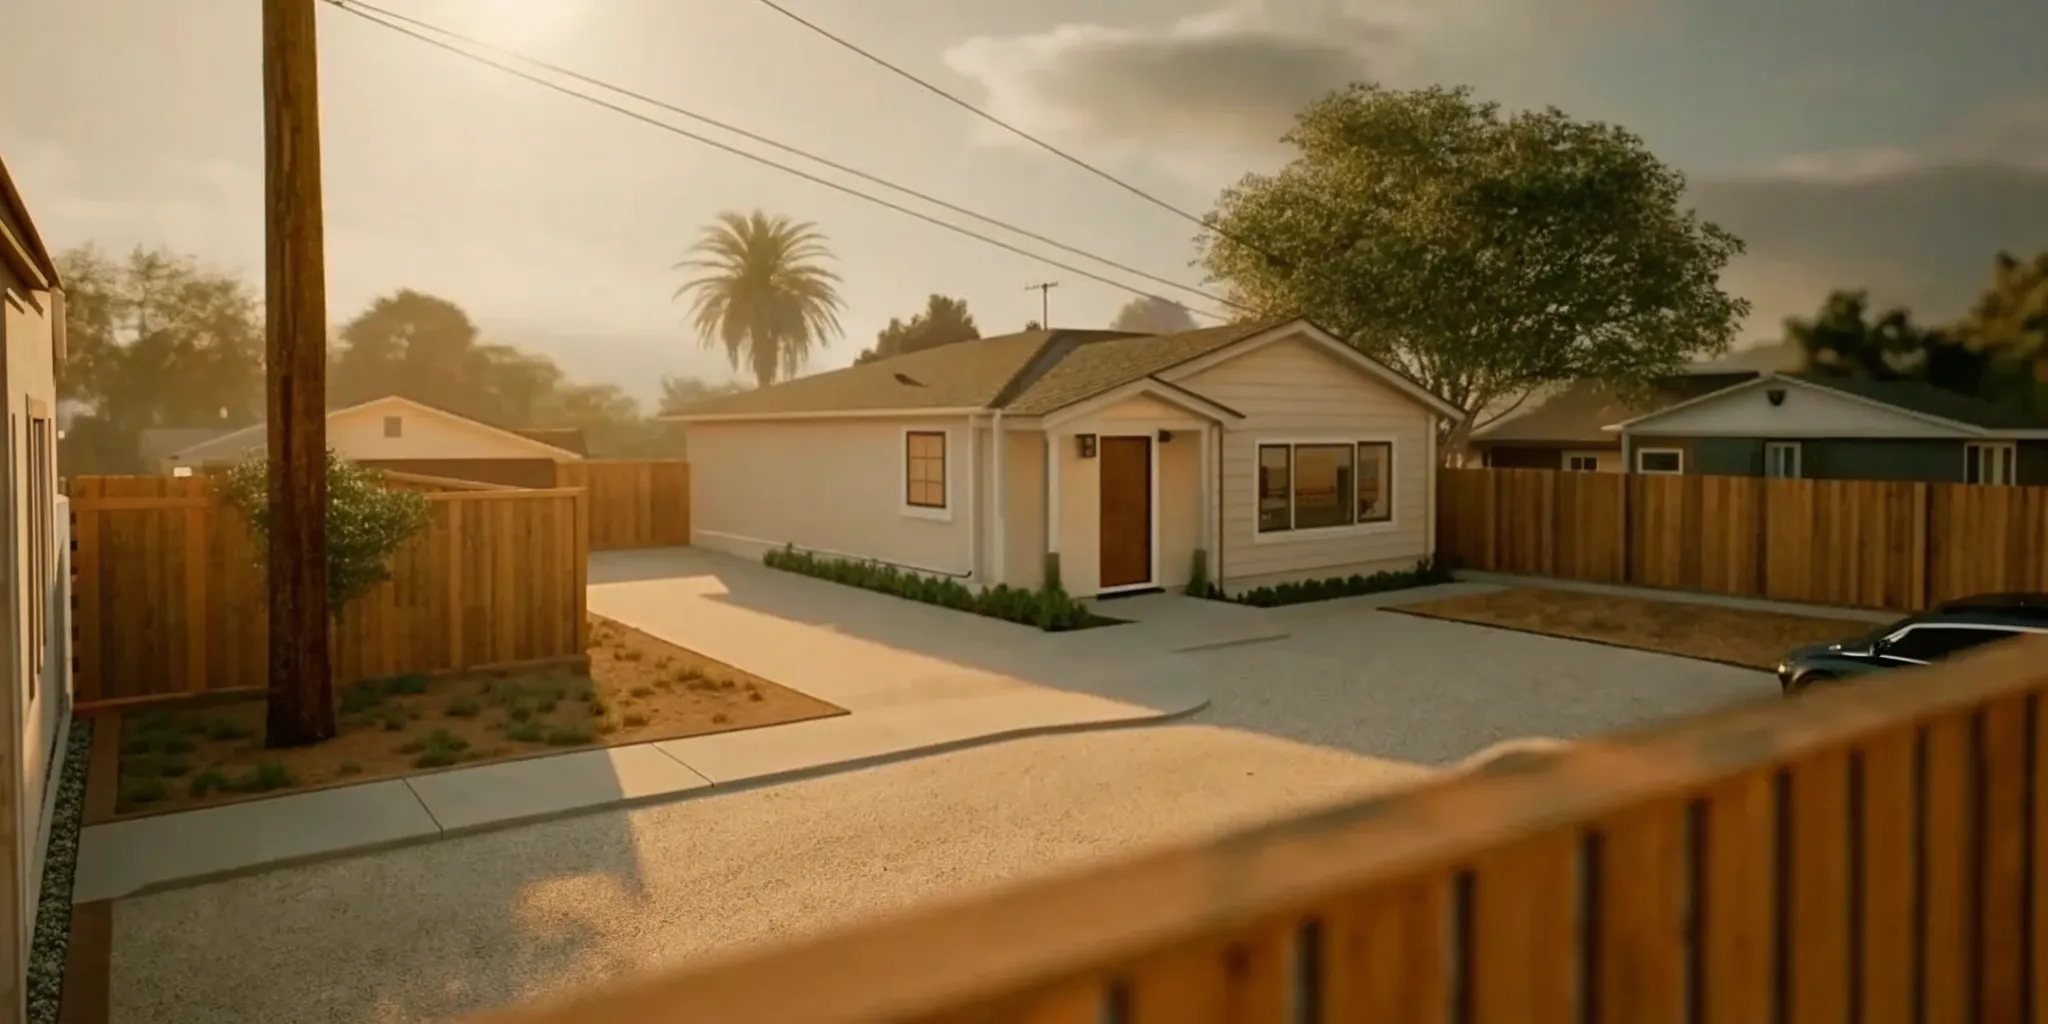
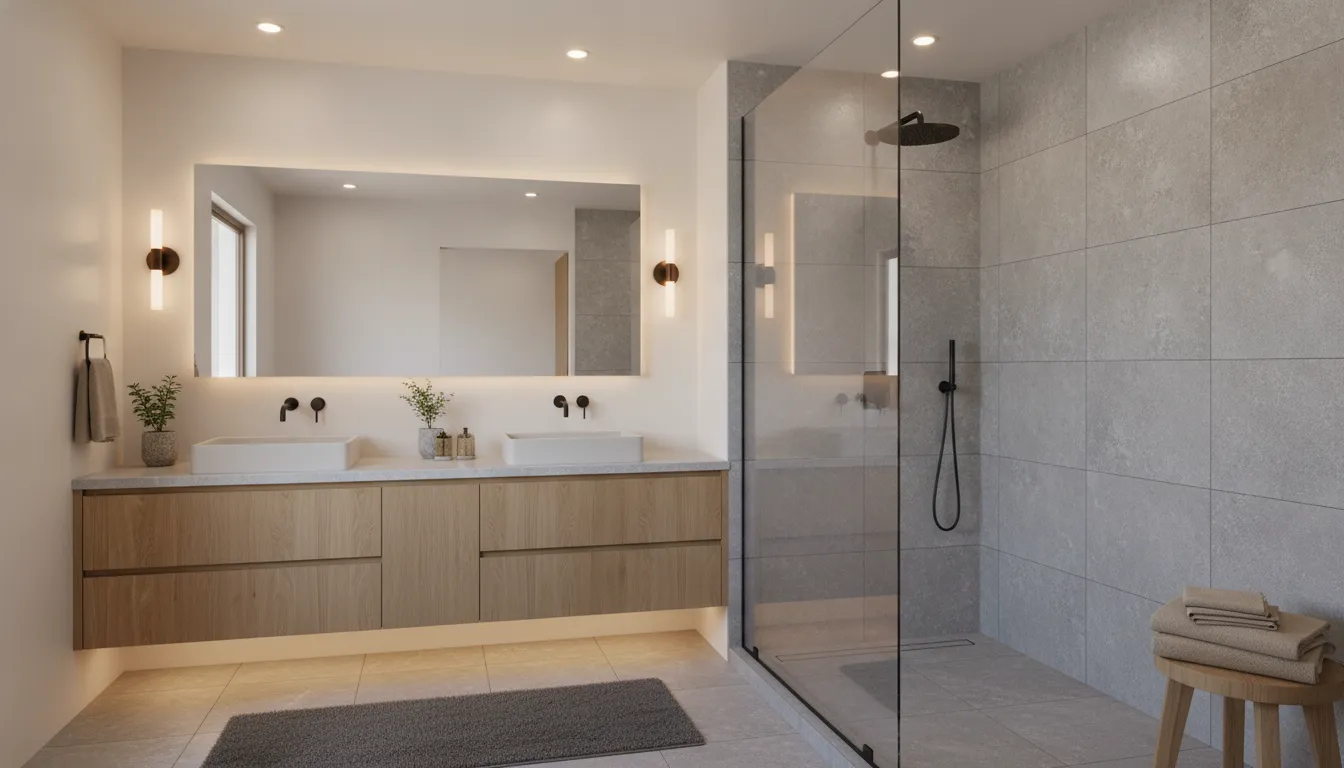
For a kitchen remodel, the rough-in stage includes planning the appliance layout — refrigerator, range, dishwasher, and any specialty appliances. For a bathroom, it involves positioning the shower valve, tub filler, toilet flange, and vanity plumbing. For ADUs and additions, this is when the connection to existing systems is established.
Drywall and finishes
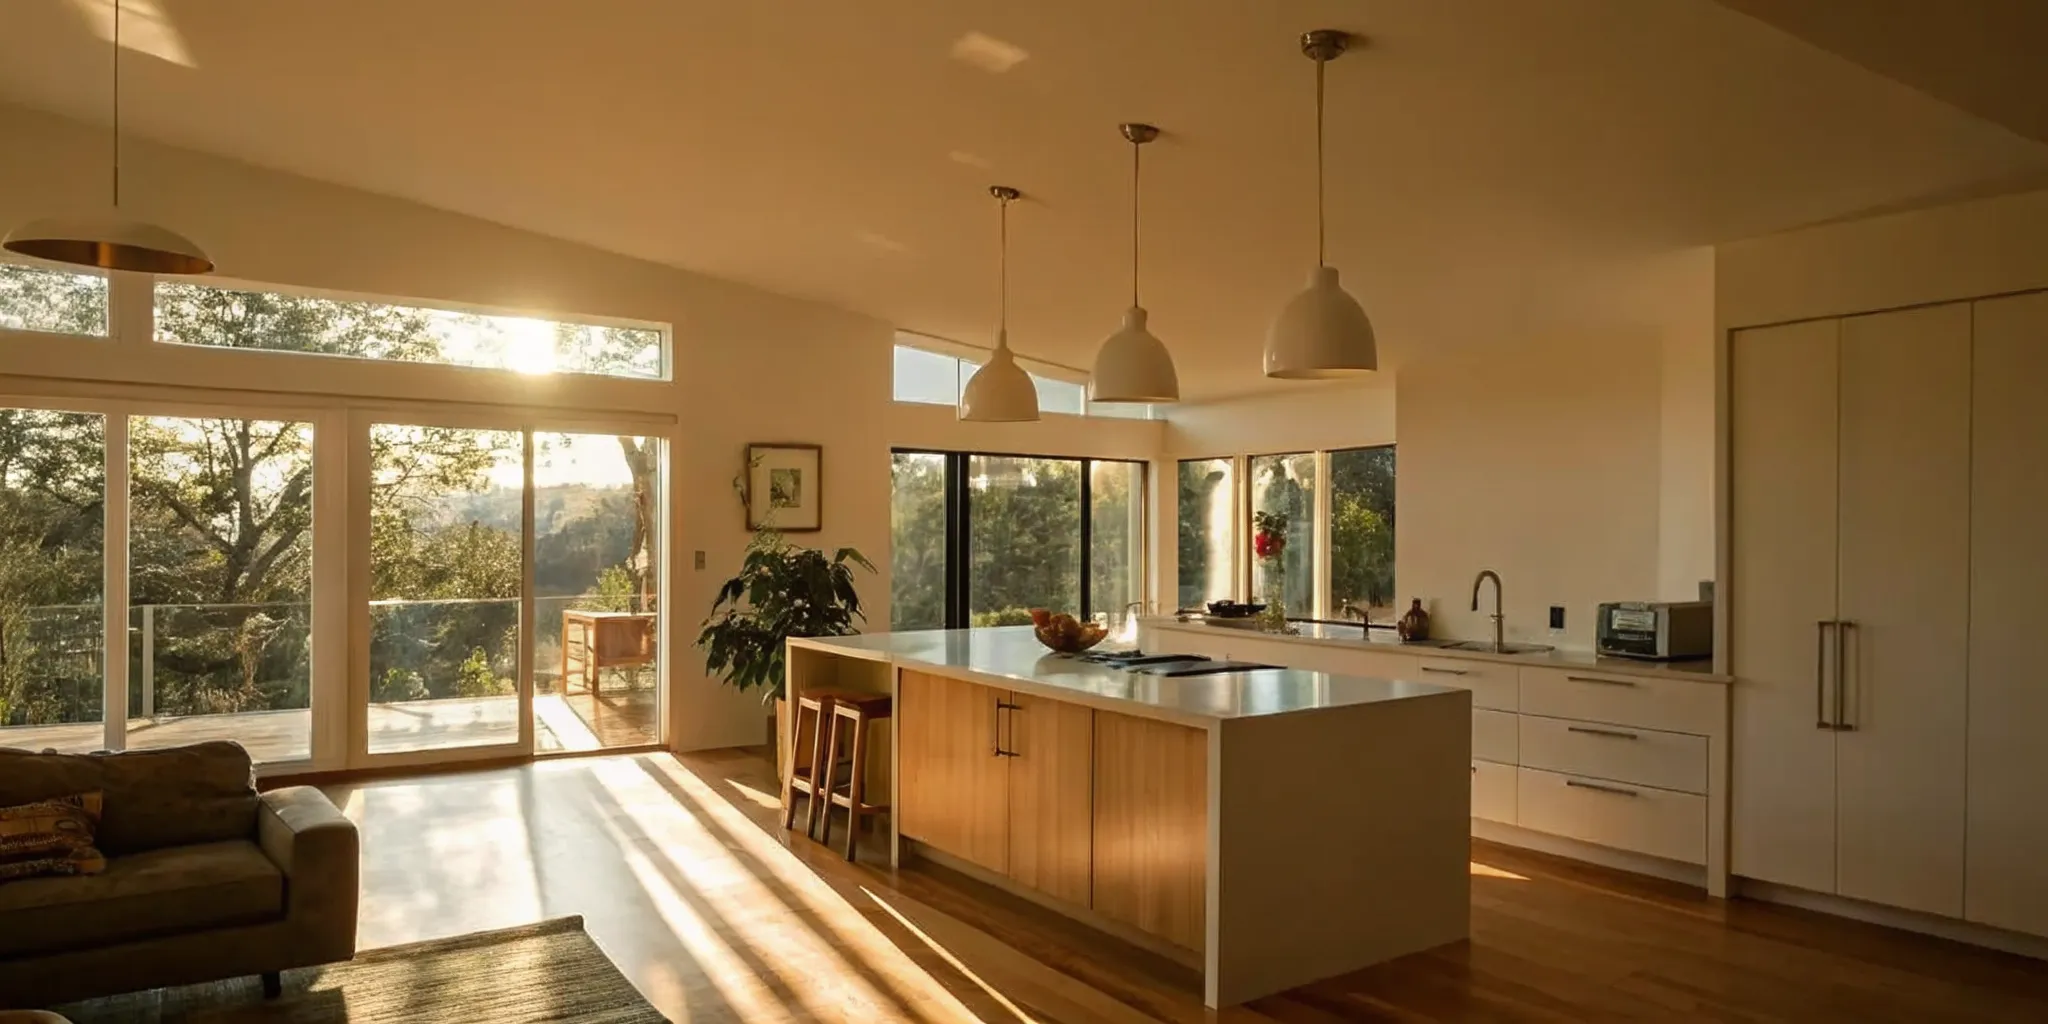
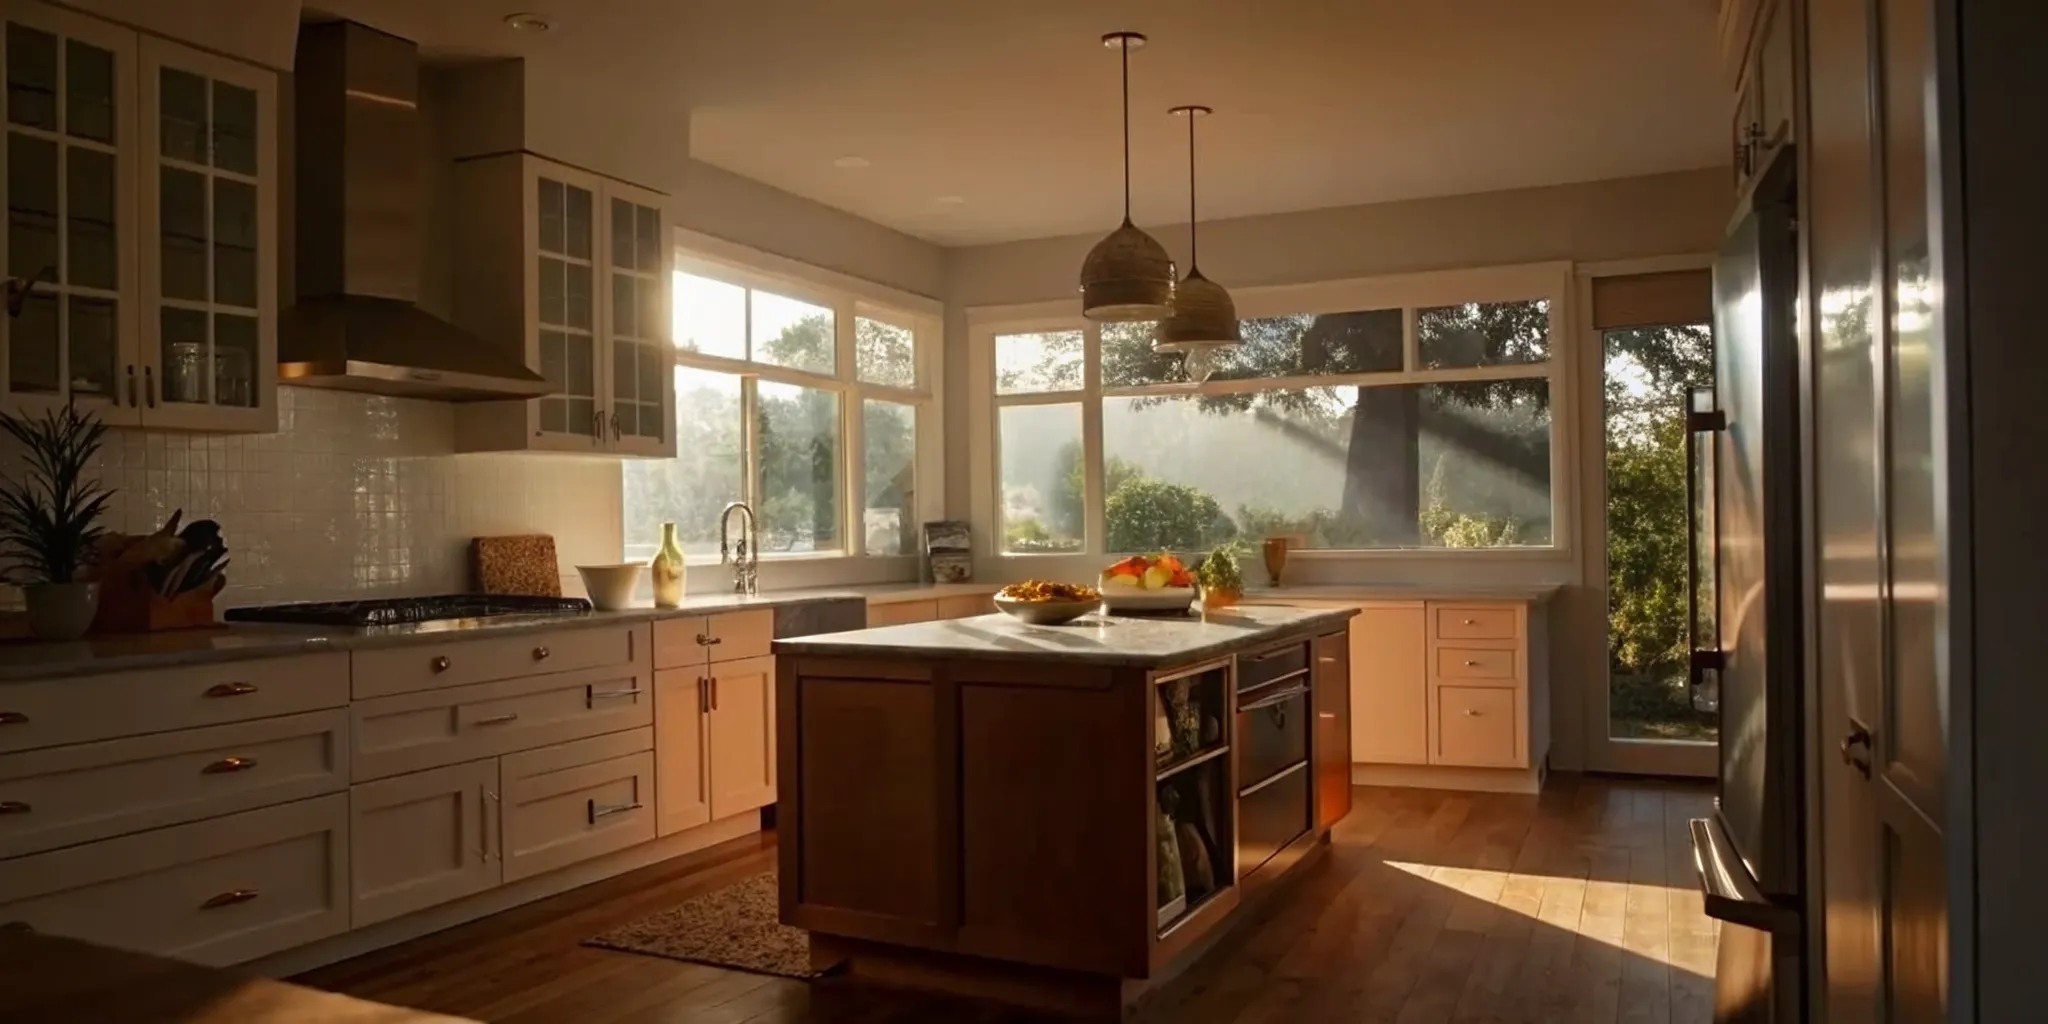
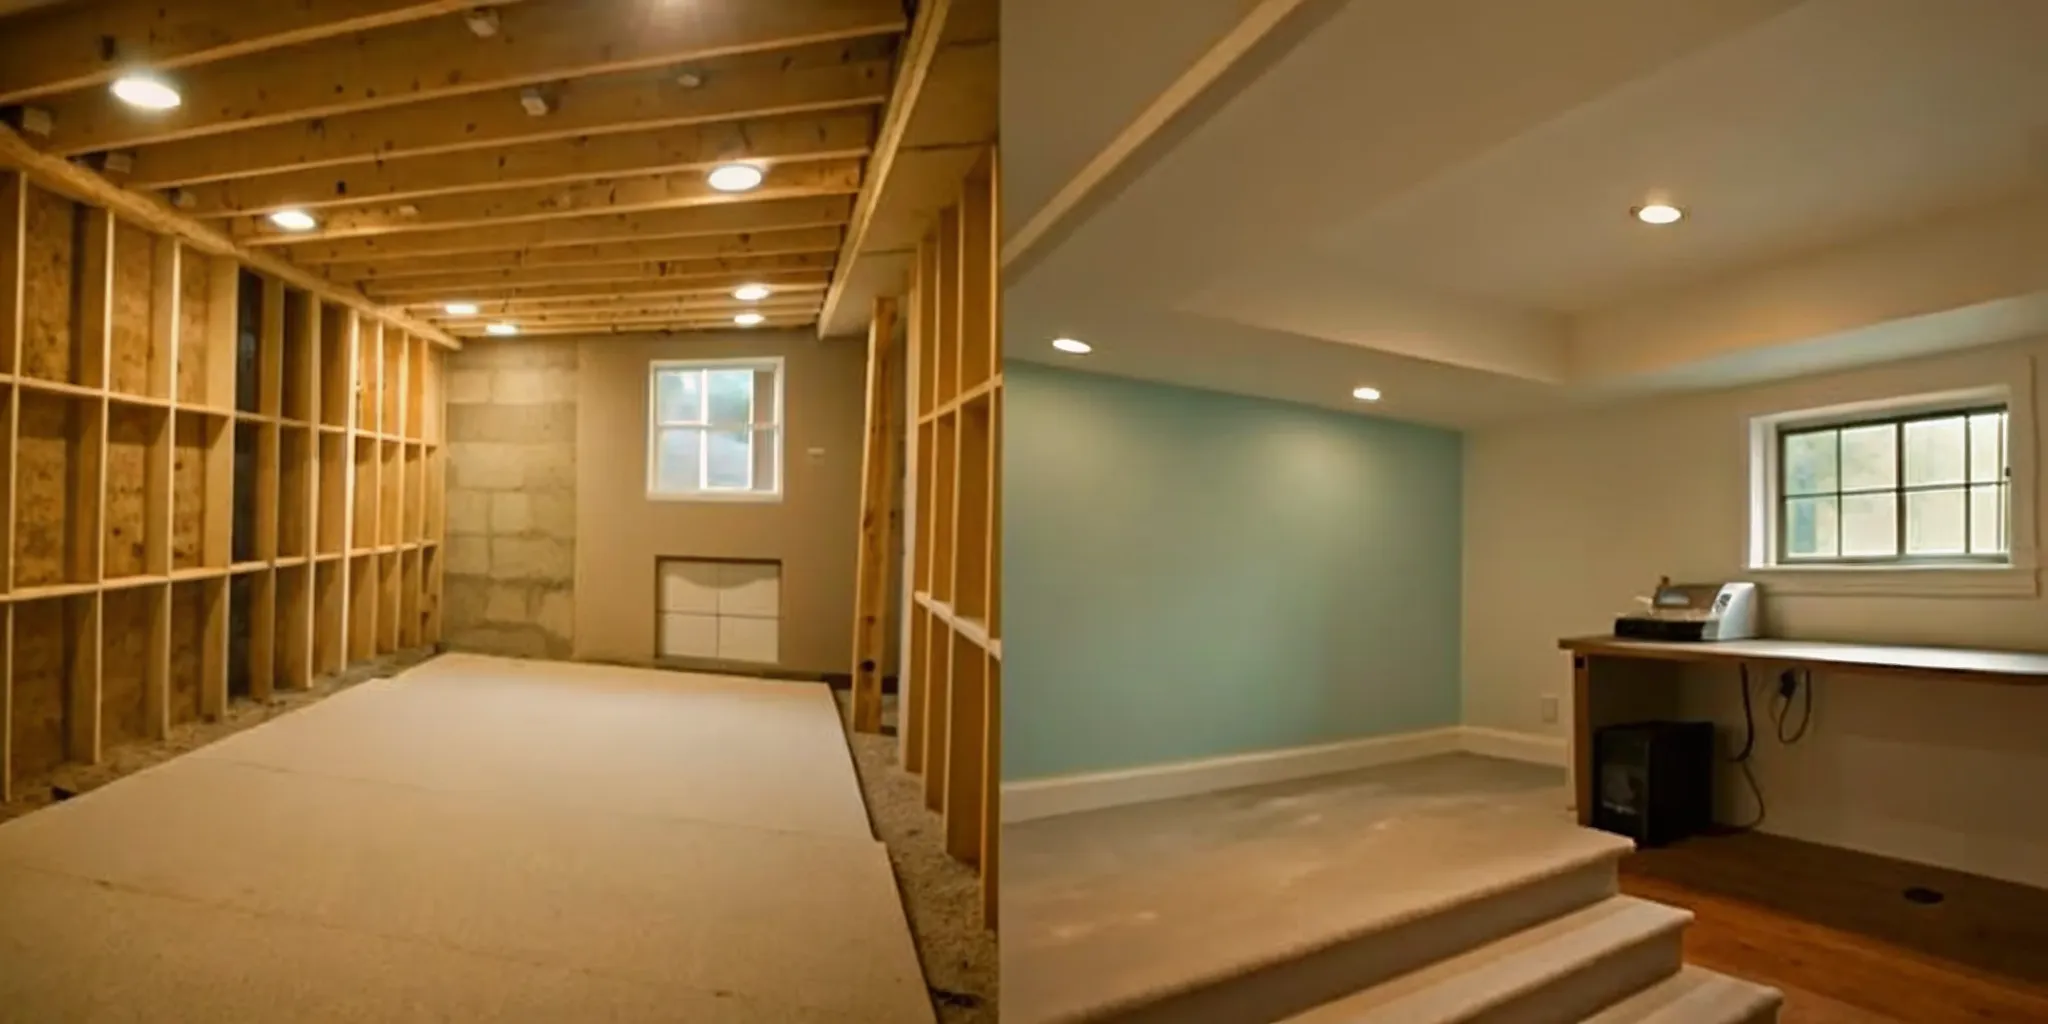
Once inspections pass, insulation is installed and drywall goes up. This phase includes taping, mudding, and sanding to create smooth wall surfaces. The finish stage is the most visually recognizable part of the transformation: flooring is installed, cabinets are set, countertops are placed, tile work is completed, trim and baseboards are installed, and fixtures are mounted.
Paint colors, backsplash patterns, hardware selections, and lighting choices all affect the final result, but they are decisions that should have been made during the design phase. Changing finish selections during installation can cause delays and increase costs. A well-organized finish schedule keeps trades working in the right sequence — painters before flooring installers, cabinet installers before countertop templaters, and tile setters before plumbers for fixture installation.
Realm Living's contractor network vets trades for quality and reliability. Less than 10 percent of applicants pass the vetting process, and Realm backs completed work with a two-year warranty, providing homeowners with greater confidence as the project moves through its most critical phase.
Phase 5: The Final Walkthrough, Punch Lists, and Move-In
The final phase determines whether the renovation meets your expectations and contract requirements. The walkthrough is not a formality — it is the homeowner's opportunity to identify incomplete or unsatisfactory work before making final payment.
Inspecting the completed renovation
Approach the walkthrough methodically. Review each room against the contract documents, specifications, and approved selections. Test every switch, outlet, faucet, shower, toilet, appliance, and HVAC zone. Check for paint consistency, tile alignment, grout quality, properly caulked joints, cabinet door alignment, drawer operation, and hardware installation. Ensure that windows and doors open and close properly. Verify that all required permits have been closed and final inspections completed.
Document any issues with photographs and a written list — this becomes your punch list. A punch list is a formal document that lists items requiring correction before final payment is made. Typical items include touch-up painting, trim adjustments, caulking gaps, hardware tightening, and cleaning. Major issues — such as incorrect installations, missing elements, or code violations — should be noted separately and addressed with urgency.
Realm Living advisors can help homeowners prepare for the walkthrough and review punch list items against contract terms. Having a knowledgeable advocate during the walkthrough ensures that small issues are not overlooked and that major concerns are properly documented for contractor follow-up.
Moving in and enjoying the transformation
After the punch list is completed, final payment is made, and the renovation is officially complete. Take time to document the finished space with photographs and notes — these records are useful for insurance purposes, future renovations, and resale. Register appliance warranties, maintain contractor contact information for any warranty-covered issues, and file final permits and inspection reports for your home records.
The home renovation before and after journey produces more than an updated living space. It creates a home that better serves the household's needs, reflects the owner's priorities, and functions more efficiently. With the right planning, team, and guidance, the disruption of construction gives way to a home that works better for the people who live in it.
Renovation Phases at a Glance: Timeline and Key Decisions
| Phase | Typical Duration | Key Decisions |
|---|---|---|
| Assessment and Budgeting | 2 to 6 weeks | Scope definition, contingency allocation, advisor consultation |
| Design and Permitting | 4 to 12 weeks | Architect selection, material choices, permit applications |
| Demolition and Structural | 1 to 4 weeks | Hazardous material testing, structural scope, utility disconnection |
| Rough-ins and Systems | 2 to 6 weeks | Plumbing and electrical layout, HVAC placement, insulation choice |
| Drywall and Finishes | 4 to 10 weeks | Cabinetry and countertop selection, flooring, paint colors, fixtures |
| Walkthrough and Move-In | 1 to 3 weeks | Punch list creation, final payment, warranty documentation |
Frequently Asked Questions
What is the difference between a home renovation before and after and a simple remodel?
A renovation involves significant structural or systemic changes to a home — modifying floor plans, upgrading electrical or plumbing, or changing the home's footprint through an addition or ADU. A remodel typically refers to cosmetic updates — new countertops, cabinets, flooring, and fixtures — without altering the structure. Both add value, but a renovation involves more complex planning, permitting, and construction management.
How long does a home renovation before and after journey typically take?
A full-scale renovation typically takes four to twelve months from planning through completion. Smaller projects focused on a single room — such as a kitchen or bathroom — may take eight to sixteen weeks. Major projects like additions, ADUs, or whole-home remodels can take twelve months or longer, depending on permit timelines, contractor availability, and material lead times.
What is the biggest cost driver in a home renovation?
Labor is typically the largest cost component in a renovation, accounting for 40 to 60 percent of the total budget. Materials represent the next largest category, with finishes, cabinets, countertops, and appliances driving significant variation. Structural work and mechanical system upgrades also add substantial costs, especially in older homes where bringing systems up to code may be required. Setting aside a 10 to 20 percent contingency is recommended for uncovered conditions found during construction.
Do I need a general contractor for a full home renovation?
For any renovation involving structural changes, new systems, or coordination across multiple trades, a general contractor is strongly recommended. The GC manages scheduling, permits, inspections, subcontractor coordination, and material procurement. For homeowners who want additional support and independent guidance through the GC selection and project oversight process, Realm Living provides dedicated renovation advisors who help vet contractors, review bids, and monitor project progress.
How do I know if my renovation budget is realistic?
A realistic budget is built from a defined scope, current material and labor pricing in your area, and documented contractor bids. Realm Living's advisor model helps homeowners gather and compare bids, identify gaps in coverage, and understand what each bid's allowances and exclusions mean for the final cost. For a more detailed breakdown of what to include in your initial budget, see this home renovation checklist.
Ready to Start Your Home Renovation Journey?
From the first assessment and conception through the final walkthrough and move-in, transforming your home takes time and planning — but the results are worth the effort. Whether you are renovating a kitchen, bathroom, adding an ADU, or tackling a whole-home remodel, understanding each phase helps you make confident decisions and avoid common pitfalls. Get started with a Realm Living renovation advisor and take the first step toward your home's transformation.