Duplex Construction Cost in Seattle: Homeowner Planning Guide
Get a clearer Seattle duplex budget by mapping land, design, permits, utilities, construction, finishes, and contingency before comparing bids.
|
October 16, 2026
In this article:
The cost to build a duplex in Seattle depends on more than the size of the building. Your total budget can change with the lot, zoning and design choices, site preparation, utility work, permit review, construction details, and the amount of finish work included. A useful early estimate separates these pieces and records what is still unknown, instead of treating one broad price range as a promise.
Discuss your Seattle duplex project
Cost to build a duplex Seattle: what should your budget include?
Start with a full project budget, not just the building contract
A construction bid is only one part of what you may spend to create a duplex. Before comparing estimates, list the land or acquisition cost separately from project costs. Then create distinct allowances for design and engineering, city review and permits, site work, utility connections, construction, finish selections, and a contingency. Add any carrying or financing costs that apply to your circumstances, but do not assume that every project has the same fees or financing structure.
This structure makes assumptions visible. For example, one early estimate may include demolition and utility work while another begins after the site is cleared. The totals may look comparable even though the scopes are not. A clear budget identifies which items are included, excluded, provisional, or still waiting on investigation.
It also helps to separate costs that happen at different points in the project. Acquisition and early professional work may come before a builder provides a detailed proposal. Permit expenses and site preparation may be due before the main construction phase, while finish selections can affect later commitments. A cash-flow view does not replace a total budget, but it can show whether the timing of payments fits your plan.
Build the first version as a working document rather than a single total. Give every line an amount or status, such as confirmed, quoted, allowance, not yet priced, or excluded. Add a brief note identifying the source and date. When a number changes, record why; this makes it possible to tell whether the project became more expensive or the estimate simply became more complete.
Separate known amounts from allowances
At the planning stage, some costs may be supported by a written proposal, while others are estimates that depend on drawings or site findings. Mark them differently. Keep a short note beside each allowance explaining the assumption behind it, who needs to confirm it, and when it should be updated. Avoid presenting a preliminary figure as a final price.
For a Seattle project, the city’s new-building construction permit information is a starting point for understanding the permit process. The exact approvals and scope for a particular property should be confirmed with the relevant professionals and Seattle review staff.
How does the lot and site affect duplex construction cost?
Land value and buildable area are separate questions
The price of a property is not the same as the cost of making it ready for a duplex. First confirm whether the intended project can fit the parcel under the applicable land-use and building requirements. The allowable size, setbacks, access, parking approach, and design constraints can shape the building before a detailed construction budget exists. Do not assume that a lot marketed as suitable for development has already been reviewed for your exact plan.
Compare potential sites by asking what is known and what still needs verification. A lower purchase price may come with more uncertainty about access, grading, drainage, existing structures, or service connections. A more expensive property may be simpler to prepare, but that should be demonstrated through due diligence rather than assumed.
Before committing to a parcel, assemble the information available about its boundaries, existing improvements, access, and relevant land-use constraints. Then ask a qualified project team which items need further review for the concept you have in mind. A short feasibility checklist can include the intended building footprint, likely entrances, circulation, outdoor areas, and the route for utilities. This early review is not a guarantee of approval; it helps expose questions before you make detailed design decisions.
Site conditions can add work before the building begins
Surveying and early site investigation help the design and construction team understand the property. Existing improvements may need removal. Slopes, retaining needs, drainage, trees, soil conditions, narrow access, or neighboring structures can affect the methods and labor required. Each item should be investigated to the degree appropriate for the site; avoid assigning a generic allowance without recording what it covers.
Ask whether the estimate includes demolition, excavation, hauling, erosion control, temporary access, and restoration of disturbed areas. If a condition has not been examined, label the related amount as an allowance or an open risk. That is more useful than burying a guess in the total.
For example, a site with limited room for equipment or material delivery may require a different work sequence than an open, level parcel. A slope can affect excavation and foundation planning, while the presence of an existing structure can create separate demolition and disposal work. These are not reasons to assume a specific added cost; they are prompts to ask for site-specific investigation and a clearly scoped estimate.
Which design and engineering choices change the budget?
Decide how the two homes will work before refining finishes
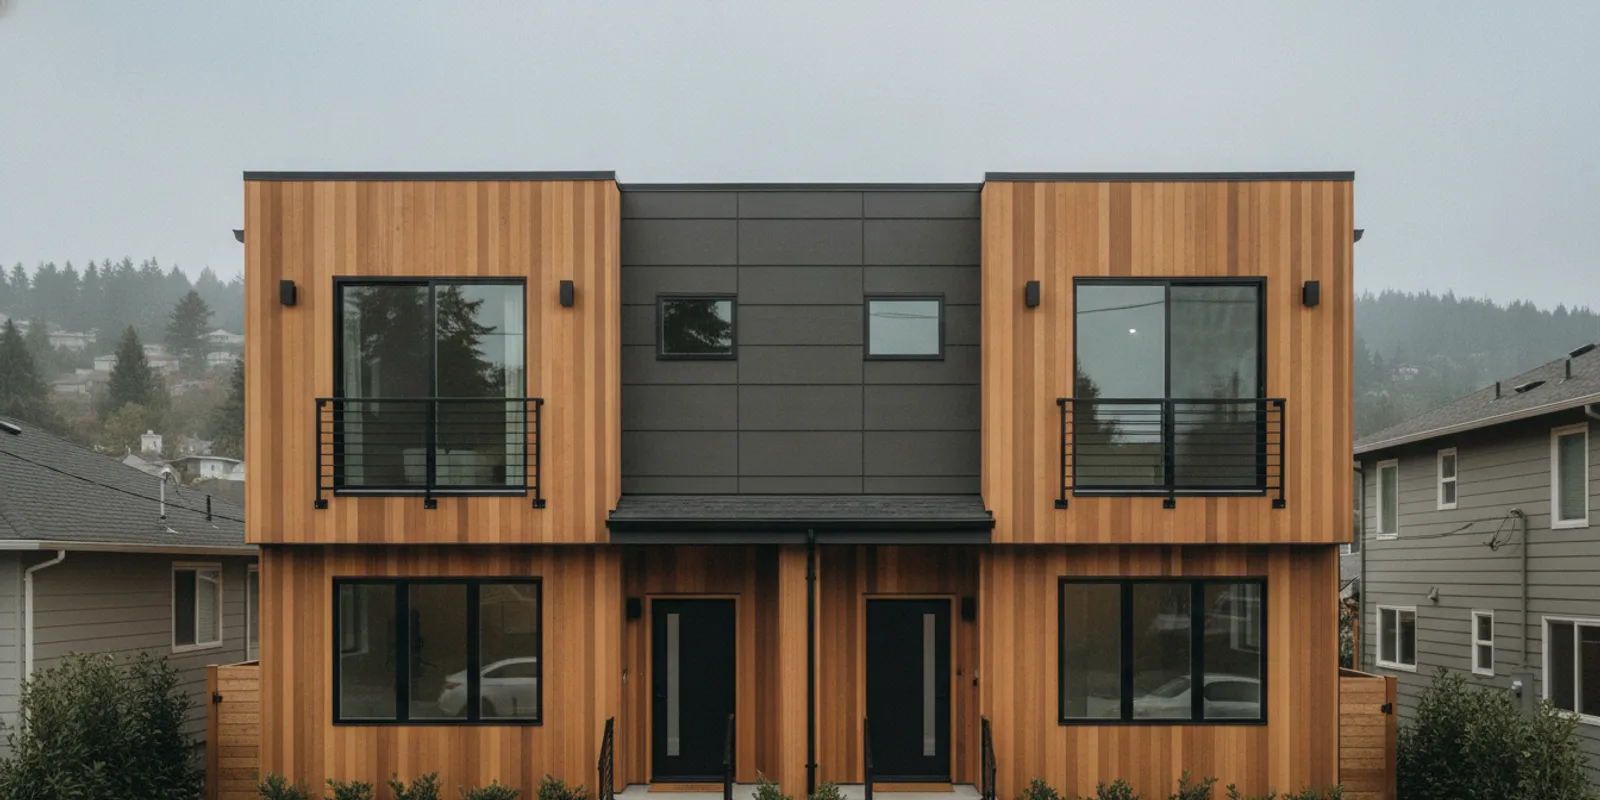
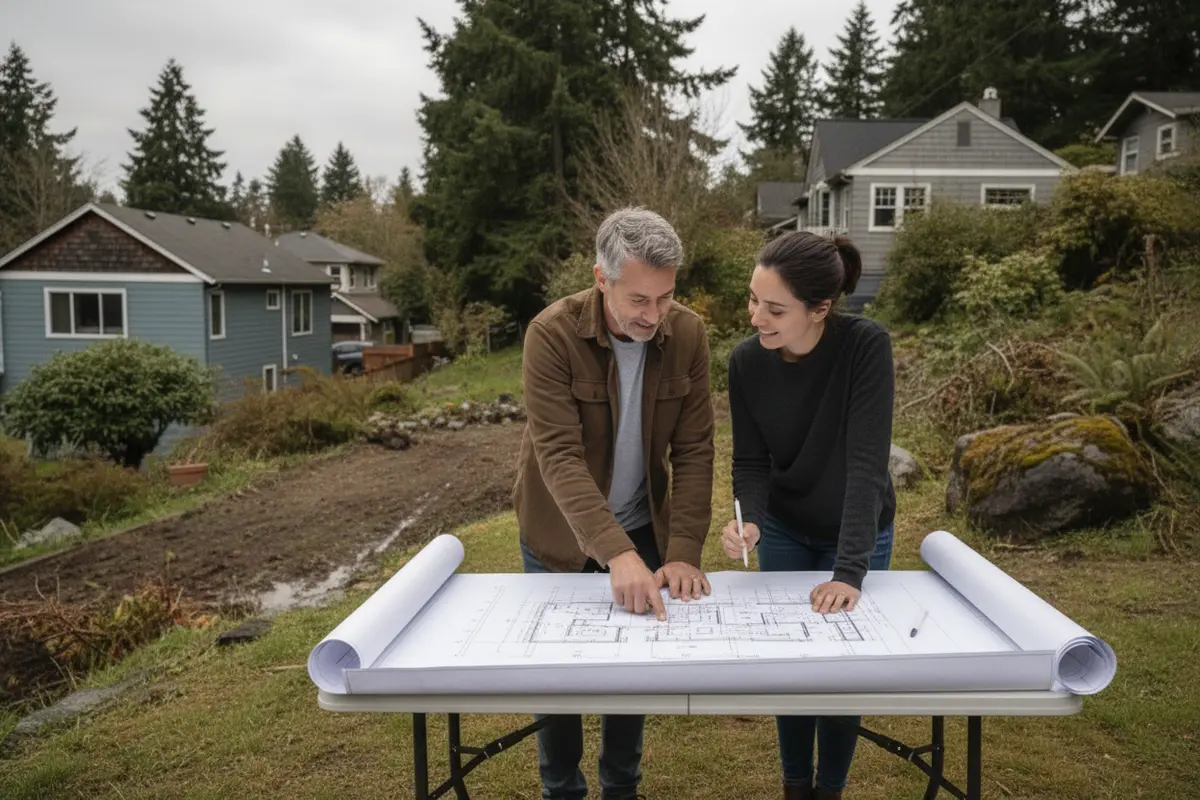
A duplex can place the homes side by side or stack one above the other, subject to site conditions and applicable requirements. The layout affects the foundation, framing, stairs, entrances, circulation, privacy, and how occupants share or separate outdoor and service areas. The best choice is not automatically the one with the smallest footprint. Think about how each residence will function and how the design fits the parcel. If you are also comparing a different housing option, Realm’s ADU cost and value guide discusses a distinct project type; do not transfer its assumptions to a duplex.
Define the intended unit sizes, bedroom and bathroom count, storage needs, laundry, accessibility priorities, and parking assumptions early. Changes to these decisions after drawings progress can trigger redesign and revisions across engineering and building systems. A concise written brief gives designers a stable point of reference.
Consider the everyday movement through both homes, not just the room count. Where will each household enter? Will each unit have a clear route to laundry, storage, and outdoor space? How will stairs, shared walls, or adjacent windows affect privacy? A side-by-side concept and a stacked concept can answer those questions differently, and their impact on circulation or structure needs to be reflected in the design rather than left for construction to solve.
Coordinate the drawings and technical plans
Architectural plans describe spaces and appearance; structural and other technical plans address how the building is supported and serviced. The scope of professional design depends on the project. Ask which disciplines are included, who coordinates them, and what deliverables are expected at each stage. Confirm whether the proposal includes revisions needed during review or treats them as additional work.
Simple geometry may be easier to coordinate than a highly articulated building with many offsets, roof transitions, or custom details. Complexity can affect design effort, material quantities, and construction labor. This does not mean every project should be plain. It means the budget should reflect the actual drawings rather than a vague description such as “modern duplex.”
Ask the designer to explain what each milestone will resolve. A concept plan may help compare layout options; more developed plans can coordinate dimensions and systems; permit documents must respond to the applicable review requirements. The exact deliverables and sequence should be set out in the proposal. If engineering or specialist input is not included, note when it will be needed and how that gap affects the next estimate.
What permits and reviews should you plan for in Seattle?
Allow for the steps between concept and approval
Permit planning is a sequence, not just a line item. The project team may need to confirm the proposed use and design, prepare application materials, submit plans, respond to review comments, and obtain the required approvals before construction proceeds. The City of Seattle describes a process for a new single-family or duplex building that includes research, starting an application, submitting plans, obtaining a permit, and scheduling inspections. Use the city’s construction permit page as a process reference, and verify which steps apply to your specific proposal.
Do not budget by assuming a particular approval date. Review needs depend on the plans, site, and questions raised during the process. A practical schedule should show milestones and dependencies, then be updated as the design and review progress. Avoid treating a contractor’s construction duration as the full timeline from first idea to move-in.
Translate the review process into budget questions. Does the professional proposal include application preparation, submission support, responses to comments, and revisions to drawings? Are any supporting reports or additional consultant services likely to be needed? Which fees are known, and which should be verified against the current city process? Keeping these questions separate prevents a vague “permits” line from hiding several different responsibilities.
Clarify who owns application tasks and revisions
In proposals, identify who prepares and submits each document, who responds to comments, and whether meetings or resubmissions are included. Ask how the team will handle a requested design change that affects cost or scope. When responsibilities are not stated, homeowners can find themselves coordinating separate professionals without knowing who is accountable for the next step.
For general context on the project stages and homeowner coordination, review how Realm’s renovation process works. It is not a substitute for Seattle’s project-specific requirements, but it can help you think through how planning, contractor selection, and project support fit together.
How should you estimate utility and infrastructure work?
Do not assume existing service is ready for two homes
Water, sewer, power, gas, and communications need to be considered in light of the proposed building and local requirements. Existing service capacity, the location of connections, and the work needed to extend or alter service can affect both cost and coordination. The budget should distinguish known connection or upgrade requirements from items that remain subject to confirmation.
Ask the design and construction team which utilities have been reviewed, whether any service provider input is needed, and what the estimate assumes about trenching, meters, panels, and connections. Keep the answer with the relevant line item. If the design changes the number or placement of kitchens, bathrooms, or mechanical equipment, revisit the utility assumptions rather than carrying forward an outdated estimate.
Make a utility checklist with one row per service. For each, record the existing condition, planned connection or change, person responsible for confirmation, and status. This is useful even when the answer is “not known yet.” For instance, an estimate that includes work only to the building edge is different from one that includes extending a line across the lot. Define the point where each scope begins and ends before comparing bids.
Account for work beyond the building footprint
Utility routes and site improvements may extend through areas that are not part of the duplex itself. Driveways, paths, drainage, exterior lighting, fencing, planting, and other restoration can be missed when estimates focus only on the structure. Decide which exterior items are essential for initial occupancy and which can be completed later, if that is feasible for your project.
Map the intended routes and exterior work on the site plan as the design develops. If a trench crosses a driveway or landscaped area, clarify who restores that surface and whether the work is part of the utility proposal or a separate site-work scope. The goal is not to settle every construction detail at the earliest stage. It is to make the boundaries between trades visible so a necessary task does not fall between estimates.
What construction and finish choices deserve close attention?
Compare the same scope when reviewing bids
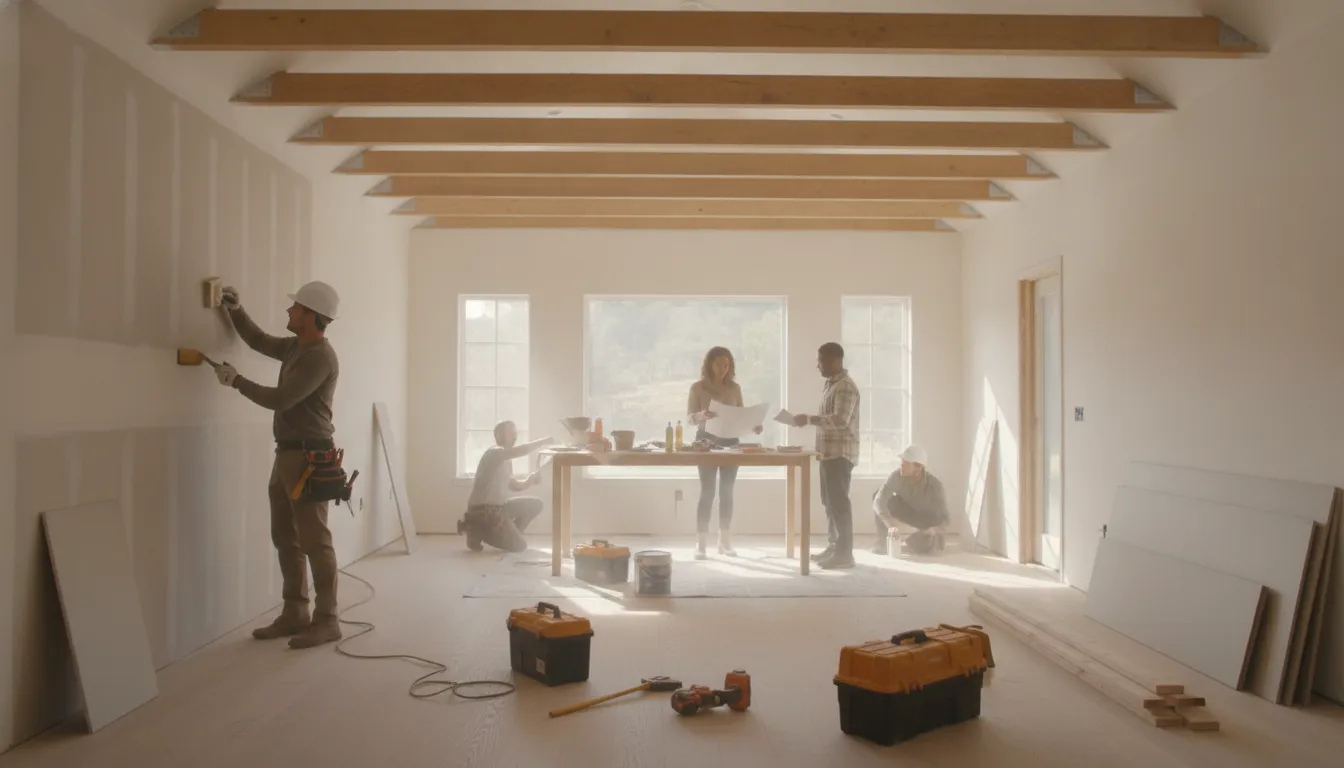
Ask each contractor to describe the included work by trade or phase. Foundation, framing, roofing, exterior enclosure, windows, insulation, plumbing, electrical, heating and cooling, and interior finish work should be understandable as a whole. Look for explicit notes about exclusions, allowances, owner-supplied items, and cleanup. A bid with a lower headline total may leave more decisions and costs unresolved.
Realm Living describes its homeowner support as including bid review and comparison; if you want to understand the company’s role, see its overview of its renovation guidance. Regardless of who helps review proposals, the written scope should make it possible to compare like with like.
Normalize the proposals before weighing them. Put each contractor’s scope beside the same categories, then mark whether each item is included, excluded, carried as an allowance, or unclear. If one proposal includes a complete exterior finish and another leaves it to the owner, the difference should be visible. Ask for written clarification on ambiguous lines instead of assuming the broader interpretation.
Choose finish levels with a clear specification
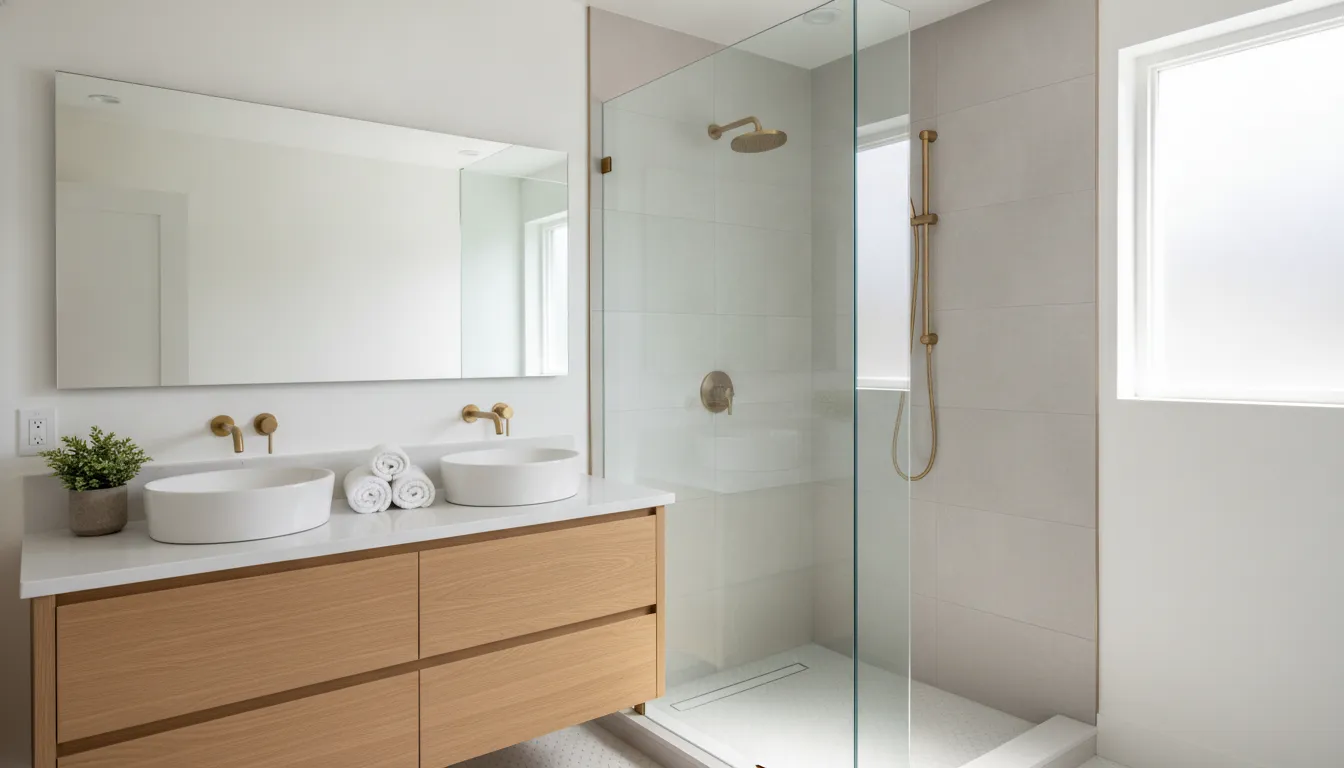
Finish budgets can shift with cabinetry, countertops, flooring, tile, plumbing fixtures, lighting, appliances, doors, and hardware. “Standard” is not a precise specification. Record a target product or quality level, quantity, and selection deadline for each major item. If selections are not final, ask what allowance has been carried and what happens if the actual selection exceeds it.
For a duplex, consider whether the two units will share a finish package or have different specifications. Repeating the same choices can simplify decisions, but it is not a guaranteed cost reduction. Differences in layout, accessibility needs, or intended use may affect the final plan. Focus on clear, durable selections that match your goals.
A simple finish schedule can list each room, the major items to be selected, the allowance or specification, and the date a decision is needed. This helps you distinguish a preference from a time-sensitive choice. If a product is not selected before pricing, ask whether the allowance reflects a realistic option and what labor or installation assumptions it includes. Avoid comparing a detailed product selection in one bid with a broad placeholder in another as if they were the same scope.
Include the systems and details that are easy to overlook
Review sound separation, fire and life-safety requirements, ventilation, thermal comfort, storage, and access as part of the design and construction scope. These are not decorative extras to add at the end. Their requirements can shape assemblies and coordination, so they should be considered with the design and qualified project professionals. This article does not determine which provisions apply to a specific property.
How can a contingency make your budget more useful?
Size it around uncertainty, not a slogan
A contingency is money reserved for defined unknowns and changes, not a substitute for a complete estimate. Early in planning, major decisions and site questions may still be open. As investigation, design, review, and contractor pricing become more detailed, you can replace some broad allowances with better-supported amounts. Keep contingency separate from scope items so you can see whether the estimate is incomplete or simply uncertain.
Do not use an arbitrary percentage as proof that the budget is safe. Instead, list the main risks: unverified site conditions, incomplete design, utility capacity, unresolved selections, or work excluded from bids. Ask the project team which risks are most material and how the reserve should be revisited as facts become available. The right reserve depends on the project and the quality of the information behind its estimate.
One practical approach is to group open issues by how they will be resolved. A site question may need an investigation; a design question may need a decision; a bid gap may need a written clarification. Assign an owner and a target date to each item, then note whether the contingency or a specific allowance is intended to cover it. This avoids treating every unknown as though it were the same kind of risk.
Track changes before approving them
Use a simple change log with the date, requested change, reason, added or removed work, cost effect, schedule effect, and approval status. A written record helps you distinguish a planned improvement from a correction to an assumption. It also makes it easier to see how a series of small decisions affects the overall budget.
Review the change log with the current budget at regular decision points. If a change affects another trade, ask whether related drawings, materials, or work need to change too. Keep the original allowance visible until the replacement price is confirmed, and record who approved the revision. That makes it easier to understand the latest total without losing the history of how it changed.
How do you compare duplex budget options?
Compare approaches by what they include and what remains open
There is no reliable universal price for a Seattle duplex without a defined parcel, design, scope, and current project-specific pricing. This table is a planning aid, not a price quote. Use it to identify the questions that separate an early concept from a bid-ready project. For another kind of small housing project, Realm’s ADU bid review guide offers related advice on checking scope and allowances; duplex bids still need to match your own plans.
| Budget approach | What it can help you understand | What remains uncertain | Useful next step |
|---|---|---|---|
| Early feasibility | Whether the parcel and broad project idea merit further study | Detailed design, site conditions, utility scope, final approvals, and contractor pricing | Confirm site constraints and list assumptions |
| Design-stage estimate | How the developing layout, systems, and finish direction affect scope | Unresolved details, review comments, selections, and some site risks | Coordinate drawings and update allowances |
| Contractor proposal | Price for a stated scope from a specific builder | Exclusions, provisional items, owner choices, and changes not in the proposal | Normalize scope and request written clarifications |
| Construction-ready budget | A more complete view of priced work, allowances, and remaining reserve | Unforeseen conditions and approved changes during work | Maintain a change log and track commitments |
Use one comparison sheet for every proposal
Record each bid’s total and scope, then compare demolition, site work, foundation, utilities, structure, building systems, interior finishes, exterior work, permits and coordination, allowances, exclusions, and contingency treatment. Note the source and date of every estimate. If contractors use different assumptions, ask for clarification before choosing based on the bottom line.
Include a column for the next action, not only the price. “Confirm service capacity,” “select fixture level,” or “clarify restoration” is more useful than a general note that an item is uncertain. You can then direct questions to the right professional and update the estimate when an answer arrives. For example, a bid comparison that shows site work as “included” should still identify what that label covers; the next step may be to check excavation, hauling, and restoration separately.
When you want to explore the project with Realm, the project intake form is the appropriate place to start. You can also review Seattle ADU permit planning for a related but different housing project; duplex and ADU requirements are not interchangeable, so confirm the rules for your proposed duplex.
Get guidance on planning your Seattle project
Frequently Asked Questions
Can I use one per-square-foot figure to budget a Seattle duplex?
A broad per-square-foot figure can be a rough early comparison, but it cannot account for a particular lot, design, site preparation, utility scope, permit needs, finish selections, or bid exclusions. Use a project-specific estimate with clearly stated assumptions before making financial commitments.
Does a duplex permit page confirm that my property can support a duplex?
No. A general permit page explains a process, not the outcome for an individual property. Confirm zoning, site constraints, design requirements, application needs, and the relevant review path for your parcel and proposal with qualified professionals and the City.
What should I have before asking builders for estimates?
Bring the property address or parcel information, a clear description of the two units, approximate space needs, priorities, known site information, and any available drawings or reports. State what is undecided. Ask each builder to identify included work, exclusions, allowances, and assumptions in writing.
How much contingency should I set aside?
There is no single reserve that fits every project. The amount should reflect how much of the site, design, utility, and construction scope is verified. Ask the professionals working on your project to explain the major open risks and revisit the reserve as estimates and investigation become more complete.
Discuss your Seattle duplex project
Make the next budget question concrete
Start a conversation about your Seattle project
A thoughtful budget separates confirmed scope from assumptions and gets more specific as the project develops. Write down the questions you still need answered before you commit to the next step.